How to Make a Digital Menu Board (Step-by-Step)
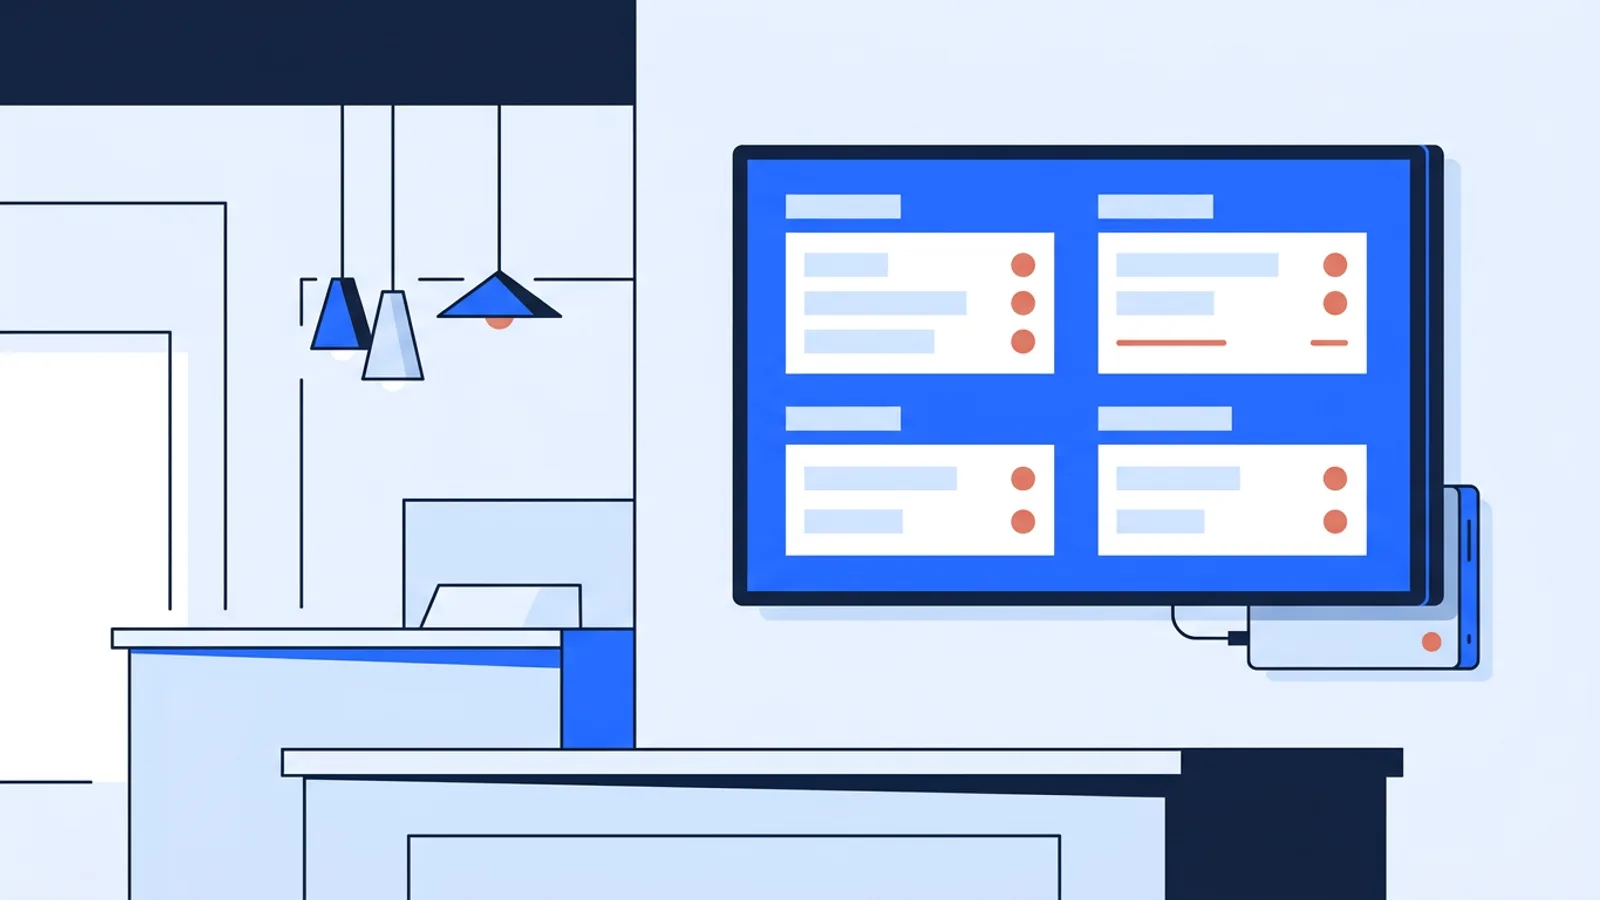
If you're wondering how to make a digital menu board without hiring a developer or buying a locked-down proprietary box, the short version is a TV, a small computer (or just a smart TV's browser), and software that lets you swap the menu on a schedule from anywhere. You skip the custom code and the printed insert that needs retaping every time a price changes.
This guide walks through the hardware decision, the software setup, and the design side, including where digital menu board templates save you time versus where they get in the way. If you want the deeper hardware walkthrough, our Raspberry Pi digital signage guide covers wiring, OS setup, and player installation in more detail than we'll go into here.
What you actually need
Strip away the marketing and a digital menu board is three things:
- A screen. Any TV with an HDMI port works. Landscape is standard for menu boards; portrait suits narrow spaces like a coffee counter or a single combo-item promo.
- A player. Something that keeps a browser or app open, full-screen, and reconnects on its own if the power blips or the wifi drops. People underestimate this part: a laptop propped behind the counter running a browser tab is fine for a demo, terrible for six months of daily service.
- Software to manage the content. You need to change prices, swap specials, and push updates without touching the TV itself. Editing a slideshow file on a USB stick every Friday night is a real strategy some restaurants use, and it's not wrong, it's just slow and error-prone once you have more than one screen or more than one person who needs to make edits.
Step by step: building the board
1. Pick your hardware
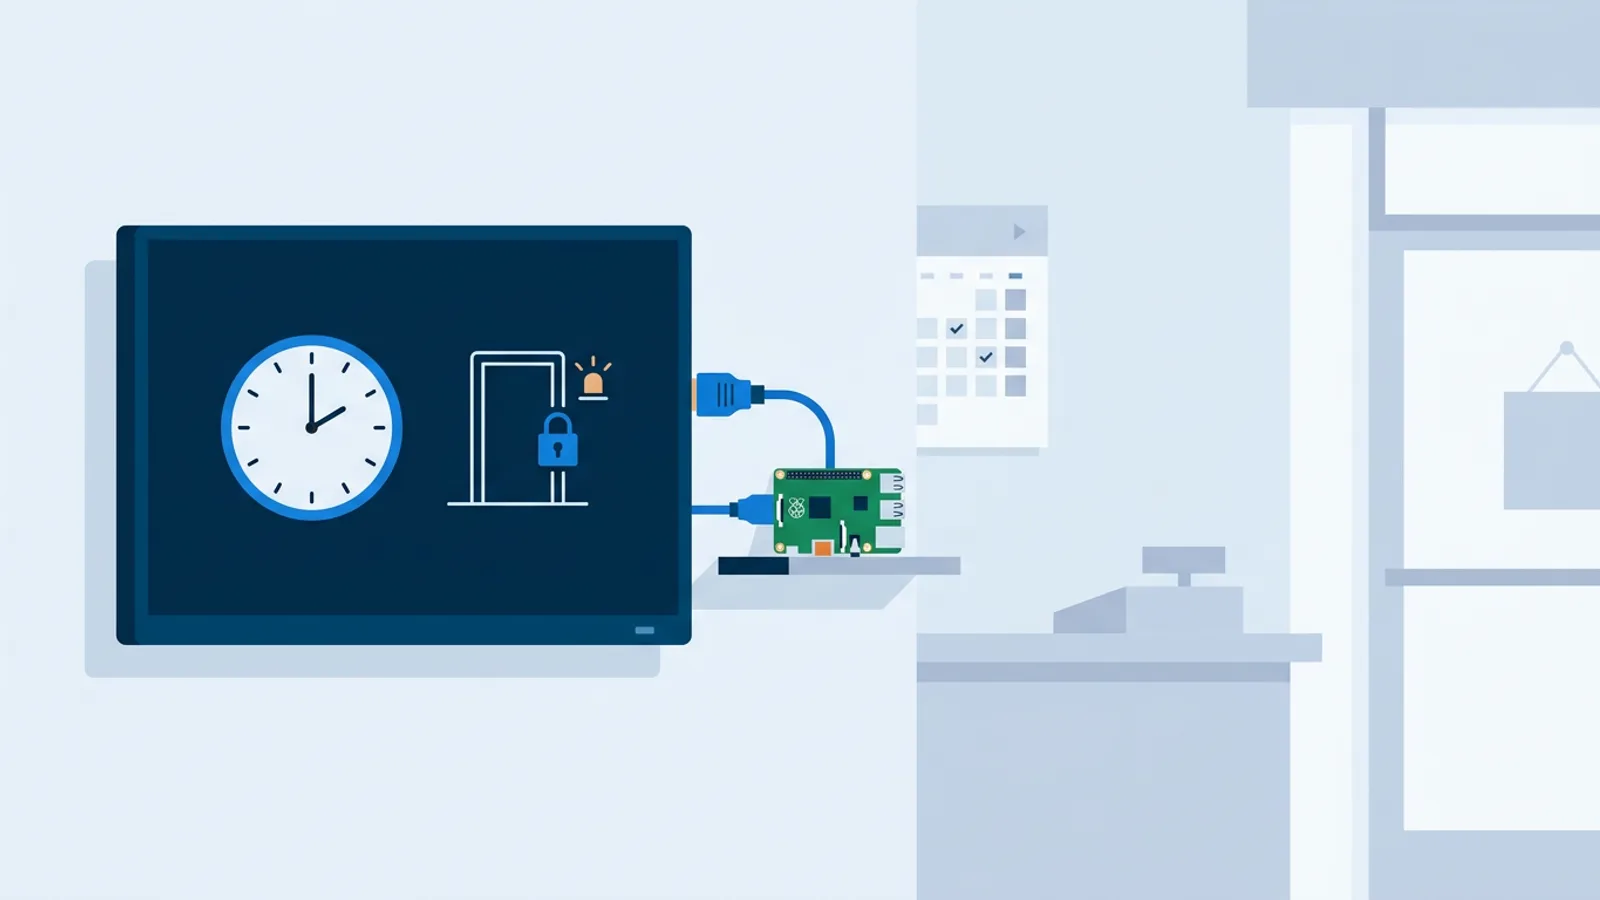
For a single location, a Raspberry Pi 4 or 5 running Raspberry Pi OS is the cheapest reliable option: under the cost of a nice bar tab, and it sits behind the TV out of sight. If you already have a smart TV or an Android TV box, you can skip buying anything and run the menu straight in its built-in browser, though you'll be relying on that device's browser staying stable, which varies by brand and firmware.
| Option | Upfront cost | Reliability | Best for |
|---|---|---|---|
| Raspberry Pi + TV | Low | High (dedicated device) | Any restaurant, cafe, or multi-screen setup |
| Smart TV browser | None (if you own the TV) | Medium (varies by TV OS) | Single screen, low budget, low complexity |
| Old laptop | None (if you have one) | Low (not built for always-on use) | Testing, temporary setups |
| Fire TV Stick + browser app | Low | Medium | Existing Fire TV households |
2. Install a player
On a Raspberry Pi, this is where most of the setup time disappears if you do it manually: getting Chromium into kiosk mode, stopping the screensaver, hiding the mouse cursor, and making it auto-restart after a crash all take real trial and error. We wrote a full Raspberry Pi kiosk mode setup guide if you want to configure that yourself from scratch.
If you'd rather not hand-build the kiosk config, TVpilot generates a one-line installer command from its dashboard (with a short claim code) that sets up Chromium kiosk mode, auto-start, and a watchdog that restarts the player within about 10 seconds if it ever hangs. Either path gets you a screen that just works; the difference is how much of Saturday afternoon you want to spend on config files.
3. Build the actual menu content
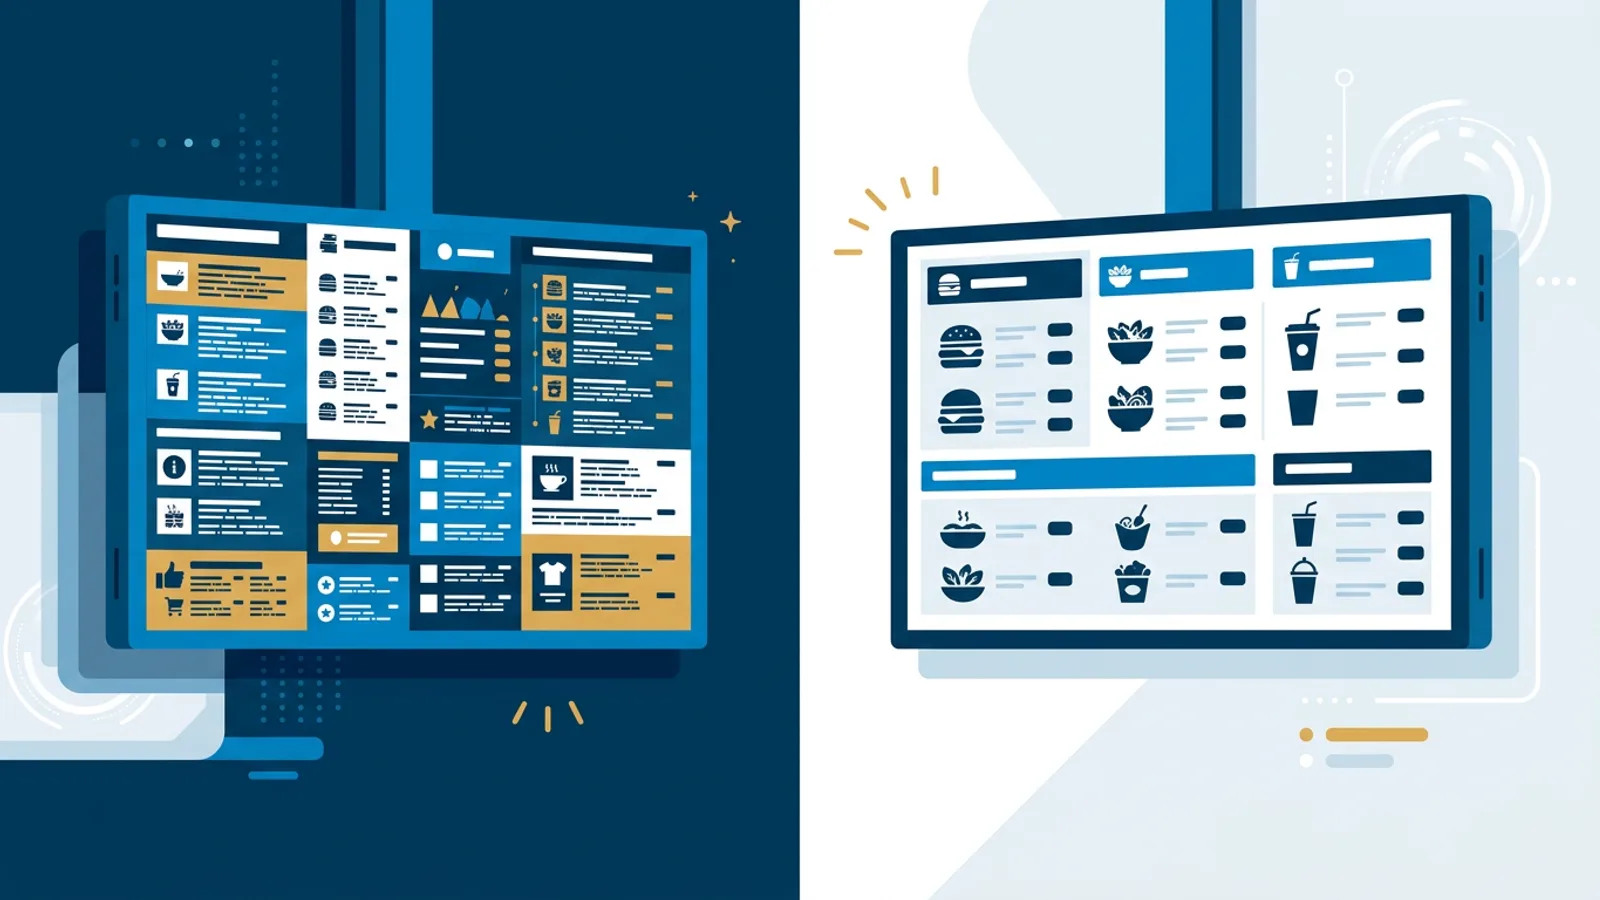
This is where "digital menu board templates" come in. A template gives you a layout: logo top-left, categories down the left column, prices right-aligned, maybe a rotating hero image for the daily special, so you're not starting from a blank canvas in a design tool you've never opened before.
You have a few routes:
- Design tool + export as image. Canva, Figma, or similar. You design a static image per menu section and upload it. Cheap and flexible, but every price change means reopening the design file, editing, exporting, and re-uploading.
- A live web page. If your menu already lives on a website or a Google Sheet published as HTML, you can just point the screen at that URL. Prices update automatically wherever they're pulled from, no re-upload needed.
- AI-generated screens. TVpilot's AI Studio takes a short brief, your menu items, categories, and tone, and generates a designed screen without needing design software. It's a fast way to get a decent-looking first draft, especially for specials boards and seasonal promos where you don't want to fuss over kerning.
Whichever route you pick, keep the content simple: fewer than 8 to 10 items visible at once per screen, large legible type, high contrast, and prices that line up in a clean column. A gorgeous layout that customers can't read from the counter three feet away isn't doing its job.
4. Schedule it
A restaurant menu screen rarely needs to show the same thing all day. Breakfast items shouldn't be visible at 2pm; happy hour pricing shouldn't show up at brunch. Set up time-based playlists so breakfast, lunch, dinner, and happy hour boards rotate automatically by time of day and day of week, instead of someone remembering to swap a slide by hand.
5. Handle power and reliability
Two practical annoyances kill more menu boards than bad design ever does: the TV staying on all night burning power, and the screen freezing on a Tuesday with nobody noticing until a customer complains. On a Raspberry Pi setup, HDMI-CEC scheduling can turn the TV itself on and off on a schedule without a smart plug, and screen monitoring with online/offline heartbeats means you (or whoever's on shift) can glance at a dashboard instead of walking over to check.
Where TVpilot fits, and where it doesn't
TVpilot is hosted software: you manage screens from a web dashboard, and the Pi player (or browser) pulls its playlist and schedule from there. That's a good fit if you want a menu board that a manager can update from a phone between shifts, want multiple screens (front counter, drive-thru, patio) staying in sync, or want the AI Studio shortcut for building screens without hiring a designer.
It's not the right fit if you need a self-hosted, open-source system running on your own server: TVpilot is SaaS only, not self-hostable. It also doesn't ship a dedicated native app for Android TV or Fire TV yet; those run through the device's browser instead, which works but is a tradeoff to know about up front. And like any connected signage software, the player needs internet access to receive updates: the Pi player reconnects and catches up automatically after an outage, but it's not designed for fully offline operation.
For a single screen you can start on the free plan (one screen, 500 MB storage, no card required) to see whether the workflow suits your kitchen's pace before paying for anything.
A note on templates and consistency
One thing worth deciding early: will every screen use the same visual template, or does each location get its own? For a single independent restaurant, consistency barely matters: build the one board that looks good and reuse it. For anyone running more than one location, locking a shared template (same fonts, same color coding for categories, same logo placement) before you start uploading content saves a lot of later cleanup, especially if different managers end up building their own screens.
Pick hardware that stays on all day without babysitting, a player that survives a wifi hiccup, and a content workflow your staff can update on a busy Friday. If you want to try the whole stack without committing to anything, sign up free and put a menu on a spare screen this afternoon.
Frequently asked questions
Do I need a Raspberry Pi to make a digital menu board?
No. A Raspberry Pi is a cheap, reliable dedicated player, but any device with a modern browser works: a smart TV's built-in browser, an Android TV box, or a Fire TV Stick with a browser app. The Pi route tends to be more stable for always-on daily use, but it's not required to get started.
What size or resolution should a restaurant menu screen be?
Most restaurants use a 32" to 55" TV depending on viewing distance: larger and further back for drive-thrus or menu boards viewed from a line, smaller for a countertop combo board viewed up close. Standard 1080p or 4K HDMI input is fine; the important factor is legible text size and contrast, not raw resolution.
Can I update menu prices remotely without touching the TV?
Yes, that's the main advantage of software-based menu boards over static prints or USB-stick slideshows. With a dashboard-based player like TVpilot, you edit content or schedules from any browser and the screen updates automatically; with a live web page as the source, prices update the moment the underlying page or sheet changes.
Are digital menu board templates worth using instead of designing from scratch?
For most restaurants, yes, templates give you a proven layout (logo, categories, price columns) so you're editing text instead of designing a page. If you want something faster than manually building a template, tools like TVpilot's AI Studio can generate a designed menu screen from a short written brief.