The Cheapest Digital Signage Player in 2026
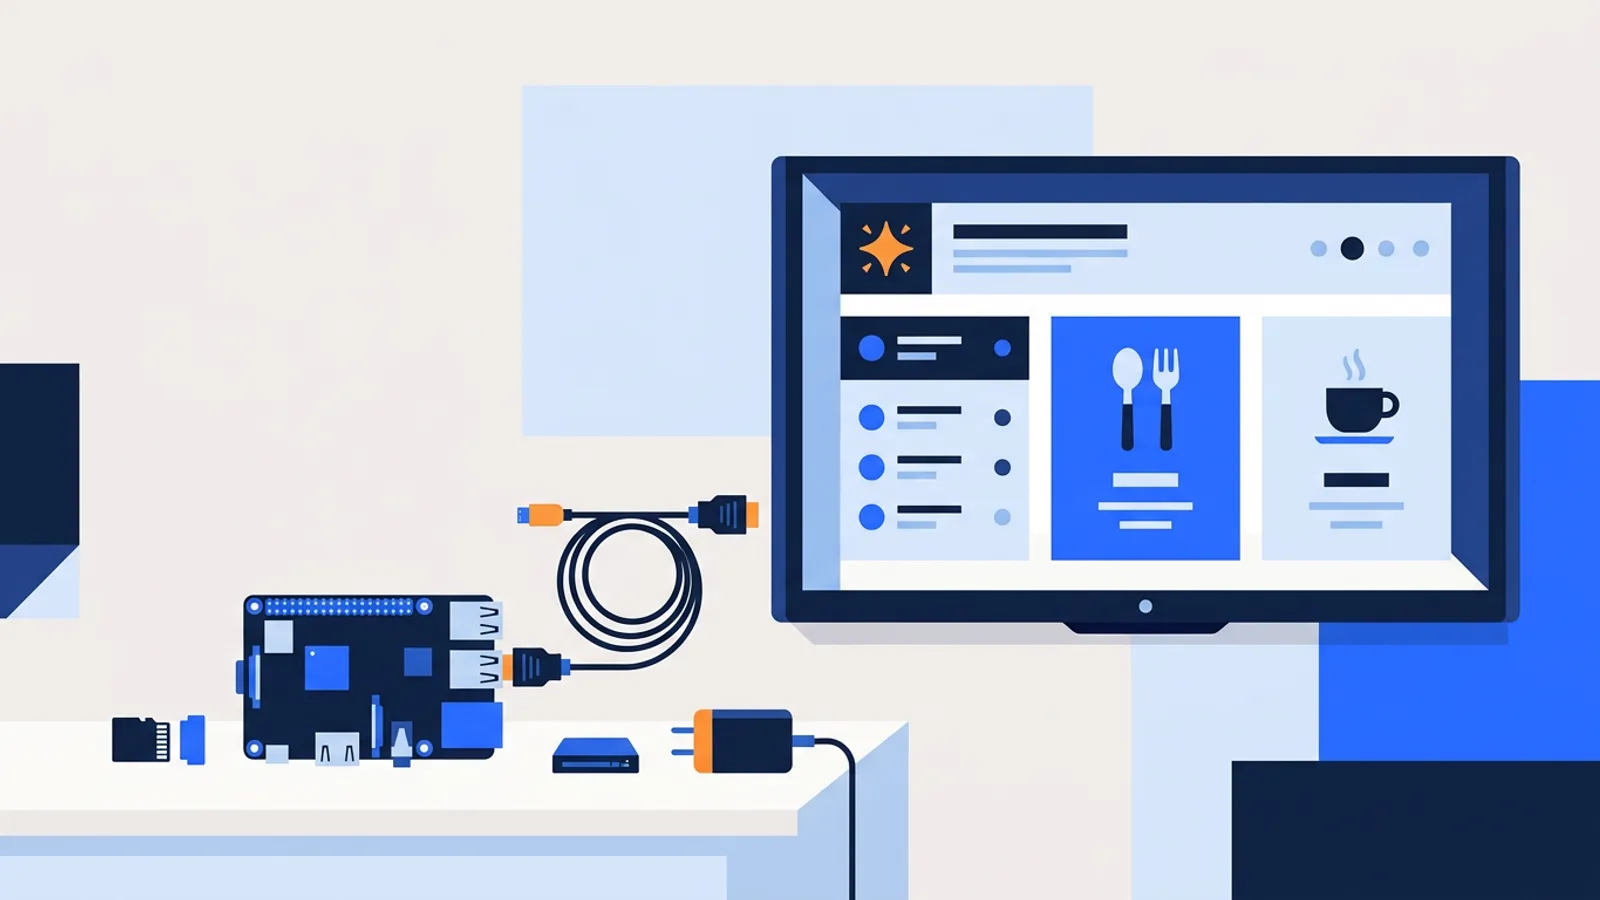
If you want the cheapest digital signage player without gambling on hardware that dies in six months, the answer is a Raspberry Pi or, if you already own one, a spare laptop or old smart TV browser. Nothing else on the market beats that combination for cost per screen. This guide walks through the real options, what each one costs to buy and run, and where corners get cut.
Most "cheap signage player" listicles rank boxes by sticker price and stop there. That's not enough information to buy on, because the real cost of a signage player is what happens after you plug it in: does it recover from a power cut, does it stay in kiosk mode, can you push an update without driving to the site. We cover Raspberry Pi setup for signage in detail on the Raspberry Pi signage page, so this article focuses on comparing it against the alternatives.
What actually is the cheapest digital signage player?
There are four tiers of "cheap" hardware for running a screen full-time:
- A browser on hardware you already own. An old laptop, a smart TV's built-in browser, or a Fire TV Stick that already has an app store. Zero extra spend.
- A Raspberry Pi. Board plus a case, power supply and microSD card. This is the sweet spot for most small businesses because it's purpose-built, low-power, and widely supported.
- Generic Android signage boxes. Often bundled with signage software subscriptions, priced anywhere from budget to mid-range depending on specs.
- Commercial signage players. Built for 24/7 industrial use, priced well above the other tiers, usually overkill for a single menu board or reception screen.
For a single screen or a small handful, tiers 1 and 2 cover almost every real-world use case. Tiers 3 and 4 start making sense once you're managing dozens of screens and need vendor support contracts, not just cheap hardware.
Option 1: Use hardware you already have
The cheapest digital signage player is the one you don't have to buy. If there's a laptop in a drawer, an unused smart TV, or a Fire TV Stick already plugged into a TV, you can often turn it into a sign with nothing more than a browser pointed at a URL. We've written a full walkthrough of this approach in how to display a website on a TV 24/7, including the two main methods and their tradeoffs.
The catch is that consumer laptops and TVs aren't designed to run a browser tab forever. They sleep, they update themselves at inconvenient times, and there's no watchdog bringing things back if the browser crashes at 2am. Fine for a low-stakes screen you can glance at every day. Riskier for something customer-facing that needs to work unattended.
Option 2: Raspberry Pi (the recommended budget pick)
A Raspberry Pi running Raspberry Pi OS with a desktop is the most common recommendation for cheap dedicated signage, and for good reason. It's small, it draws very little power, it has an HDMI output every TV understands, and it's been the reference platform for hobbyist and small-business signage projects for years. Pi 4 or Pi 5 boards are recommended if you want smooth video playback; older or lower-spec boards can technically boot a browser but you should test your specific content before trusting one in production, especially with heavier web pages or video.
Buying new, you're looking at the board itself, a case, a power supply, and a microSD card (or one you already have). Total spend stays well below any commercial signage box, and once it's running, ongoing costs are just electricity and whatever software subscription you choose to manage content.
That second part matters more than people expect. A bare Pi running a browser in kiosk mode will eventually need someone to SSH in, fix a stuck browser window, or manually edit a config file when the display sleeps or the resolution changes. Our Raspberry Pi kiosk mode guide covers the manual setup in detail if you want to do it entirely yourself, and it's a legitimate option if you enjoy that kind of tinkering and only need one or two screens.
If you'd rather skip the manual config, this is the gap TVpilot fills for the Pi: the dashboard generates a one-command installer (a curl … | bash command tied to a 6-character claim code) that sets up Chromium kiosk mode, auto-start via systemd, a self-healing watchdog that restarts the player within about 10 seconds if it crashes, quiet boot, and a hidden cursor. It also checks for player updates daily and lets you push remote updates or reboots from the dashboard, so you don't need physical access to the Pi for routine maintenance. On top of that, the Pi player can switch the TV on and off on a schedule using HDMI-CEC, so no separate smart plug is needed just to save power overnight.
Option 3: Android signage boxes
Generic Android boxes marketed for signage sit between a Pi and full commercial hardware. They typically ship with more RAM and a faster processor than a base Pi, and many run a signage app directly rather than a browser. The downside is variability: build quality, driver support, and long-term firmware updates differ wildly between brands, and "digital signage Android box" search results are full of near-identical units from different resellers.
If you already have a signage software subscription that supports Android natively, this can be a reasonable middle ground. If you're choosing hardware and software together from scratch, a Raspberry Pi paired with browser-based software usually gives you more predictable long-term support, because you're not depending on a no-name manufacturer to keep shipping firmware updates.
Comparing the realistic options
| Option | Upfront cost | Reliability for 24/7 use | Best for |
|---|---|---|---|
| Old laptop or smart TV browser | None (reuse existing device) | Low to medium, no watchdog | Testing, low-stakes internal screens |
| Fire TV Stick with browser app | Low | Medium | Casual signage, small retail |
| Raspberry Pi 4/5 | Low | High, especially with a watchdog and auto-restart | Menu boards, reception, retail, offices |
| Generic Android signage box | Medium | Variable by brand | Bulk deployments with existing software |
| Commercial signage player | High | Very high | Large fleets, mission-critical signage |
For most small businesses, the Pi row is where cost and reliability balance out.
Software costs matter as much as hardware
It's easy to focus entirely on the box and forget that the software running your playlists and schedules is the other half of the cost. TVpilot's free plan covers one screen and 500MB of storage with no credit card required, which is enough to trial the whole workflow on a single Pi. The Starter plan is €5/month for up to 5 screens and 10GB of storage with all features unlocked, and Pro is €19/month for up to 25 screens and 50GB, plus priority support. For a business running more than 25 screens, pricing is custom, with dedicated support available.
Whichever plan you land on, the features are the same: playlists mixing images, videos, web pages and PDFs with transitions, day-and-time scheduling, landscape or portrait orientation, an AI Studio that generates designed screens like menus and promos from a short brief, and widgets such as weather and real-estate listing feeds. If you're specifically building a menu board, our digital menu board guide walks through that use case end to end, and the general turn a TV into a digital sign guide covers the basics if you're starting from a blank TV.
When TVpilot is (and isn't) the right fit
TVpilot is a good fit if you want a Raspberry Pi (or a browser on any device) turned into a managed, self-healing sign without hand-editing systemd files, and you're comfortable with a hosted, browser-based service rather than self-hosted software. It's a strong match for the exact "cheapest hardware, managed properly" scenario this article is about.
It's not the right fit if you need open-source or self-hostable software you run entirely on your own servers, since TVpilot is hosted SaaS only. It's also not ideal yet if you specifically want a native Android TV or Fire TV app rather than the browser route, since that support currently works through the device's browser rather than a dedicated app. And because players need an internet connection to receive content updates, it's not built for fully offline deployments, though the Pi player does recover automatically once connectivity returns after an outage.
Getting started without overspending
The cheapest digital signage player setup that holds up is boring on purpose: a Raspberry Pi 4 or 5, a case and power supply you probably already have lying around from another project, and software that handles kiosk mode, restarts, and updates so you're not the one babysitting it. Start on the free plan with a single screen, see how the playlist and scheduling workflow feels for your actual content, and upgrade only once you're adding more screens than it covers. You can sign up and generate your first Pi installer in a few minutes.
Frequently asked questions
What is the cheapest way to set up digital signage?
Reuse hardware you already own, such as an old laptop or a smart TV's built-in browser, pointed at a signage player URL. If you're buying new, a Raspberry Pi with a case and power supply is the cheapest dedicated option that still holds up to 24/7 use, especially with software that adds auto-restart and remote updates.
Is a Raspberry Pi good enough for digital signage?
Yes for most content. Any Pi running Raspberry Pi OS with a desktop can run a browser in kiosk mode, and Pi 4 or 5 boards are recommended for smooth video playback. Older or lower-spec Pi models can work for lighter content, but it's worth testing your specific playlist before relying on one in production.
Do I need a smart plug to schedule TV power on/off with a Pi signage player?
Not if your setup supports HDMI-CEC. With TVpilot's Raspberry Pi player, the dashboard's power schedule is checked every minute and the TV is switched on or to standby directly over HDMI-CEC, so no separate smart plug is required.
Can I run digital signage software for free before paying for a subscription?
Yes. TVpilot offers a free plan covering one screen and 500MB of storage with no credit card required, which is enough to test the full workflow, including playlists, scheduling, and the Pi installer, before deciding whether to upgrade.