Digital Menu Board Installation: A Complete Walkthrough
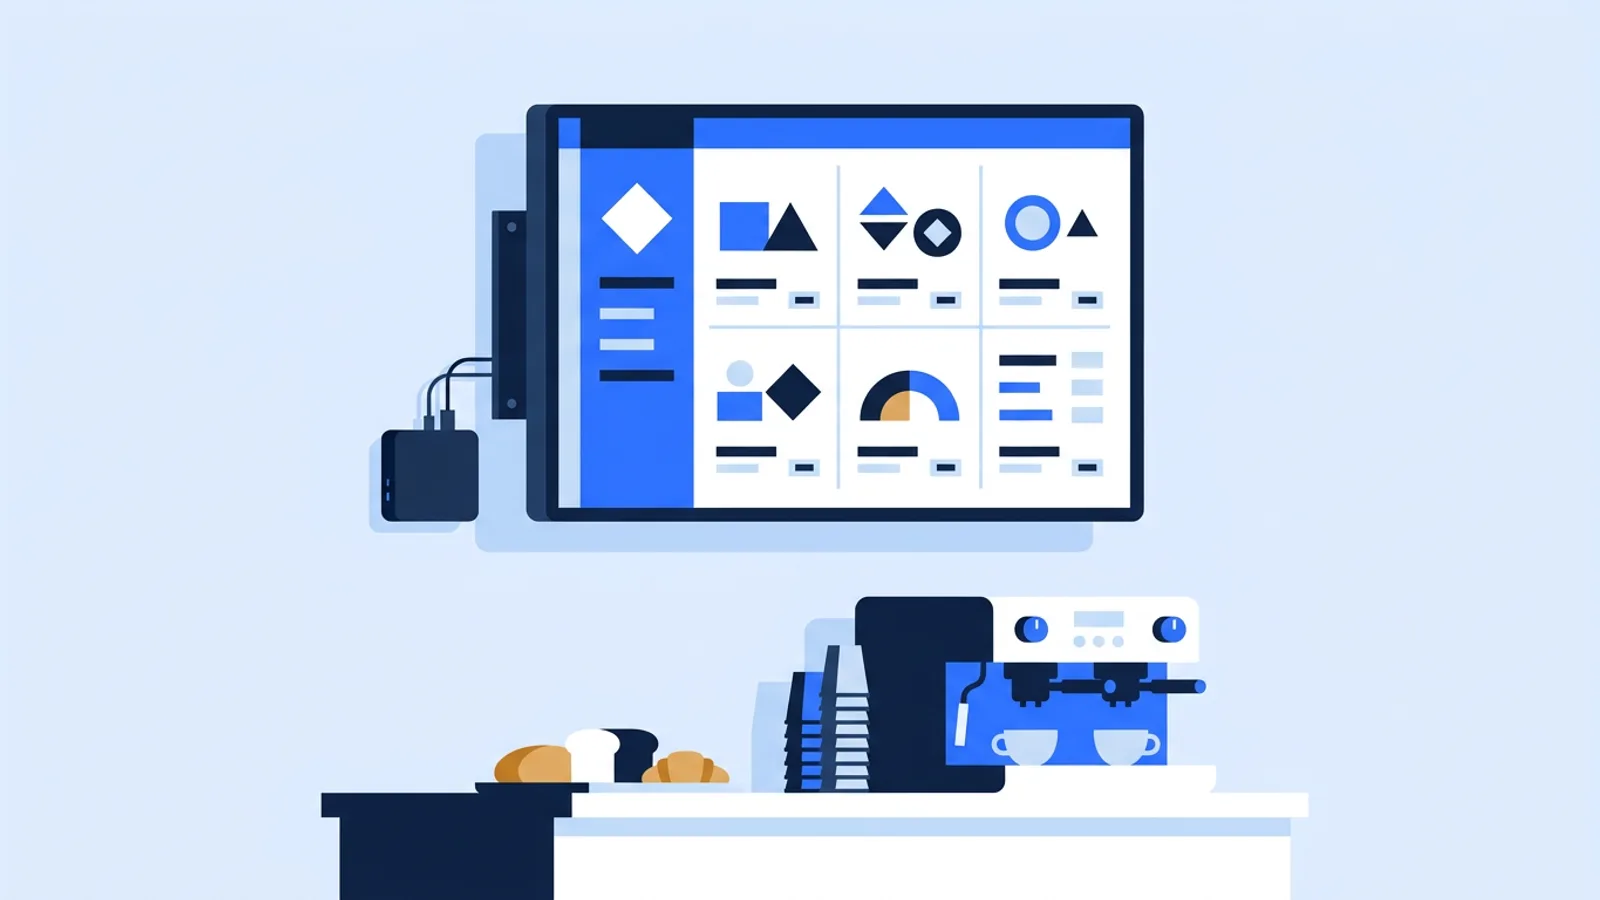
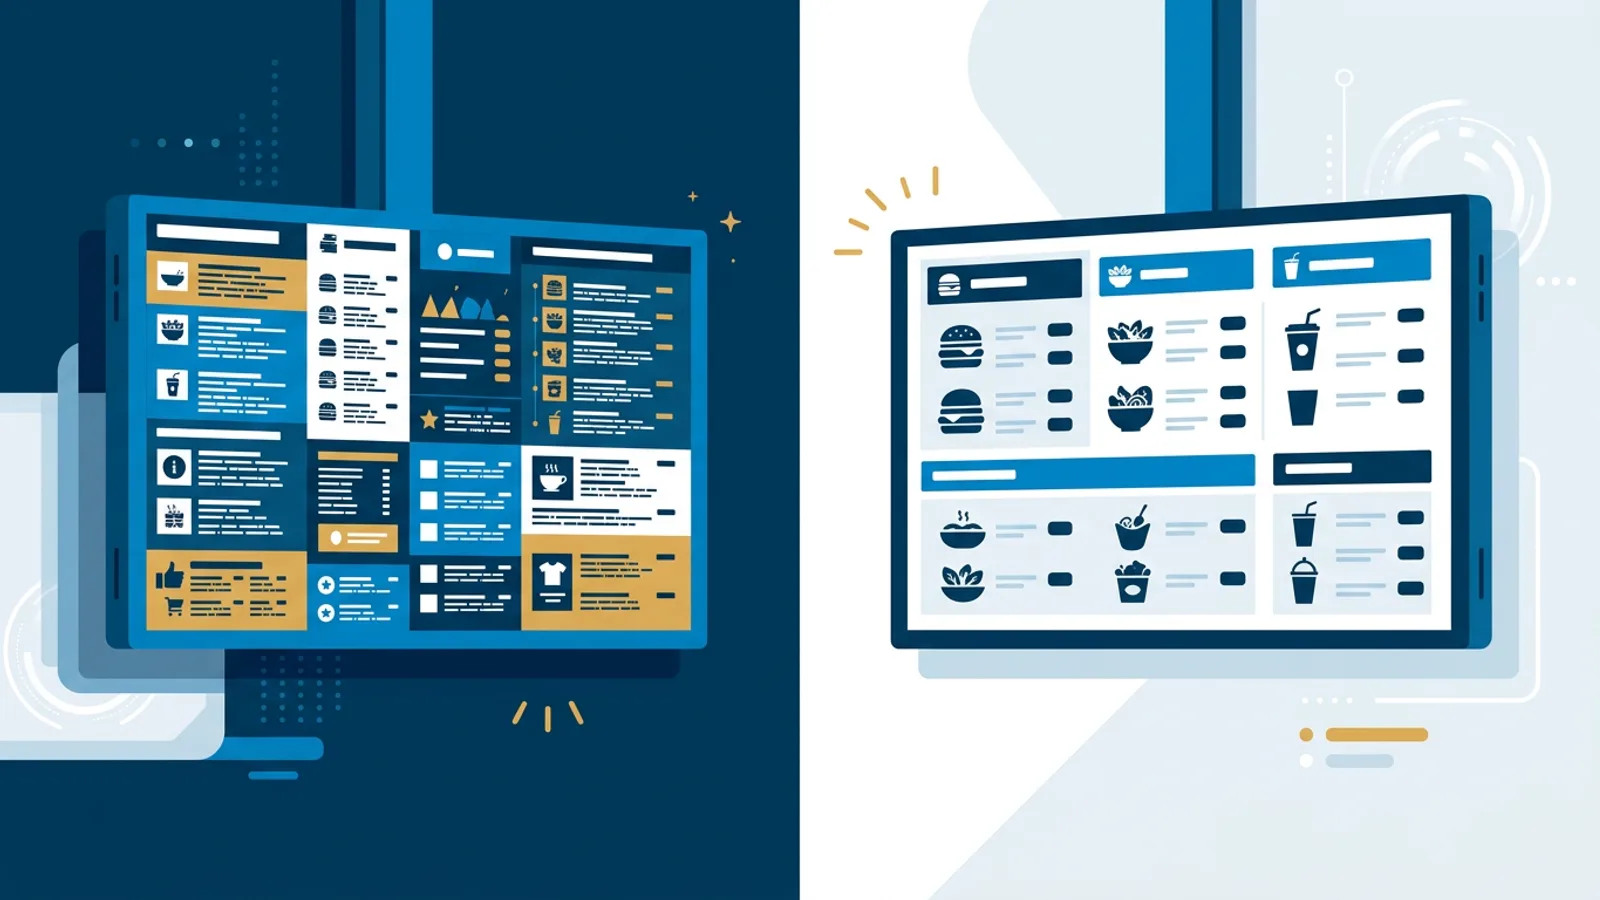
Digital menu board installation is mostly about three things: picking hardware that matches your counter and viewing distance, mounting it where customers can actually read it while ordering, and getting the software talking to the screen reliably. Get those three right and the rest is drag-and-drop. If you want the shorter conceptual overview of the whole setup first, our digital menu board page walks through what the finished system looks like before you buy anything.
This guide covers the physical side (what to buy, where to hang it, how to wire it) and the software side (claiming the device, building your first menu, scheduling it), in the order you'll actually do them.
What you need before you start
Before ordering hardware, settle three questions: how many screens, how big, and what's driving them. A single-counter setup and a three-screen drive-thru stack have different answers.
| Setup | Best for | Rough cost feel | Notes |
|---|---|---|---|
| Raspberry Pi 4/5 + any HDMI TV | Most single or multi-location menu boards | Low, one-time hardware cost | Runs a proper kiosk with auto-restart and remote updates |
| Smart TV's built-in browser | Quick single-screen setups, testing | No extra hardware | Depends entirely on the TV's browser quality and memory |
| Fire TV Stick with a browser app | Budget setups where a Pi feels like overkill | Very low | Works via browser route, no dedicated app |
| Old laptop propped behind the counter | Temporary or pilot menu boards | Free if you have one lying around | Fine short-term, awkward long-term (fans, updates, mounting) |
If you're still deciding between these, our breakdown of the cheapest digital signage player in 2026 goes deeper into the cost tradeoffs. For most quick-service and cafe menu boards, a Raspberry Pi is the sweet spot: cheap, silent, and small enough to hide behind the TV.
Step 1: Choose and prep the screen
Menu boards get read from a specific distance and angle, usually a counter three to six feet away, sometimes a drive-thru lane much farther out. That distance decides screen size and resolution. A 32" panel is plenty for a close counter menu; a drive-thru board wants 43" or larger with high-contrast colors so it's legible in daylight.
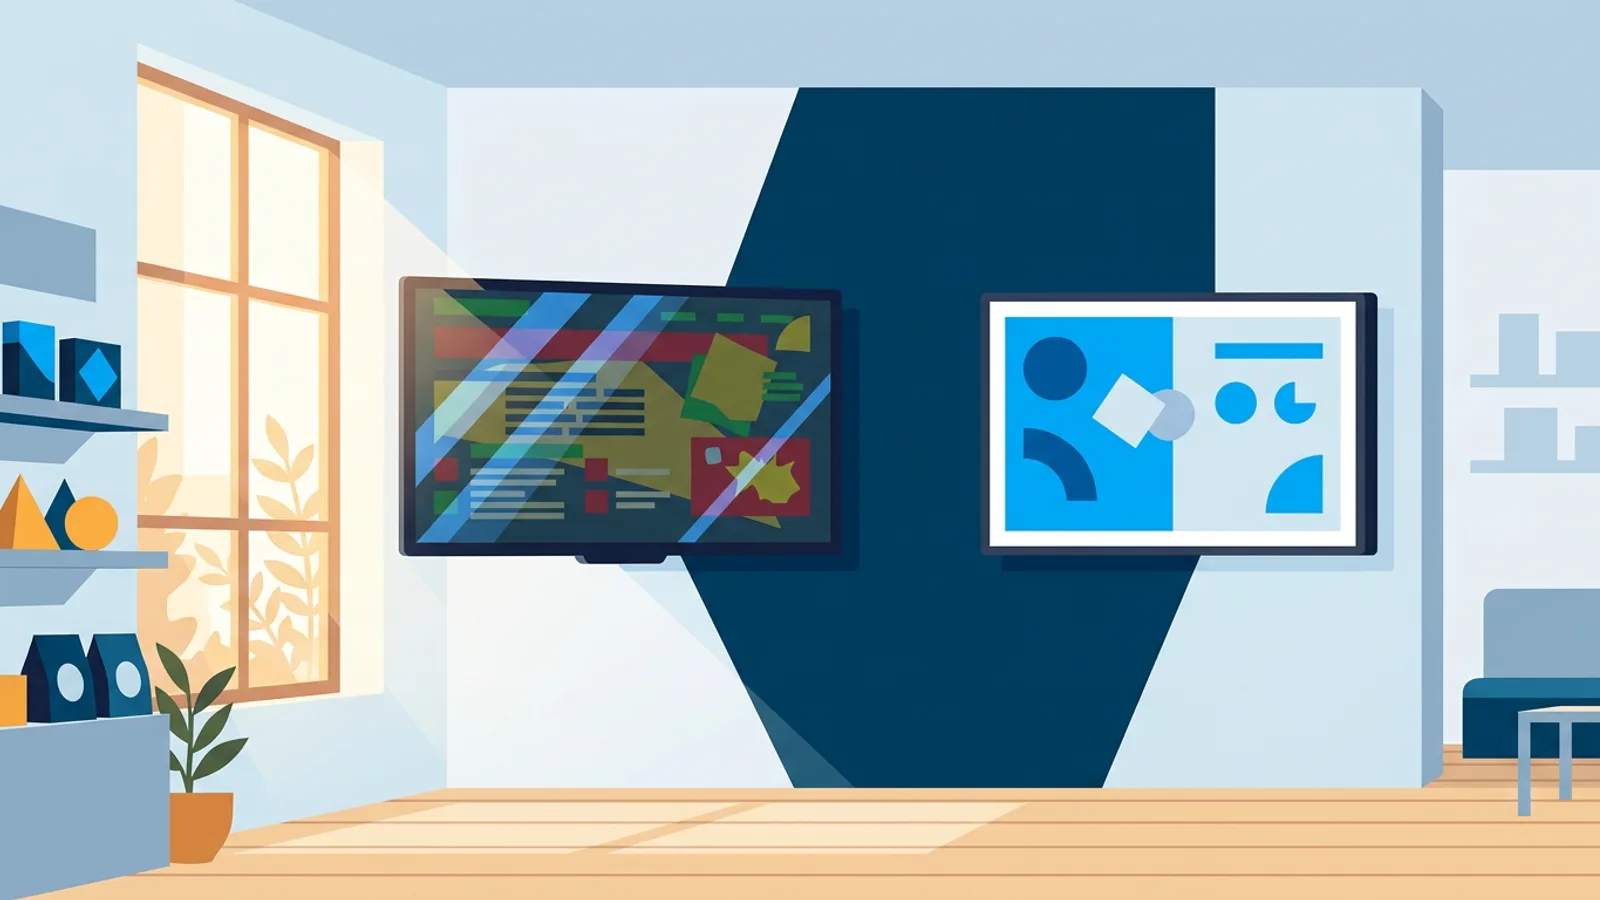
Check the TV has an HDMI-CEC-capable input if you plan to schedule power on/off remotely (almost all TVs from the last decade do). Anti-glare matters more here than in most signage uses, since menu boards often sit near windows or under bright kitchen lighting.
Step 2: Mount it where the order happens, not where it looks nice
The only mounting rule specific to menu boards: hang the screen at the eye line of someone standing at the counter or in a car window, not at the eye line of someone walking past. That single decision affects height and tilt more than any general TV-mounting advice does. If you're combining a static price board with a secondary promo screen, keep the primary menu at reading height and let the promo screen sit higher or to the side.
Run power and HDMI before you commit to a bracket position. Once the Pi or stick is tucked behind the panel, you don't want to unmount the TV again to reach a cable.
Step 3: Connect and power on the player
For a Raspberry Pi player:
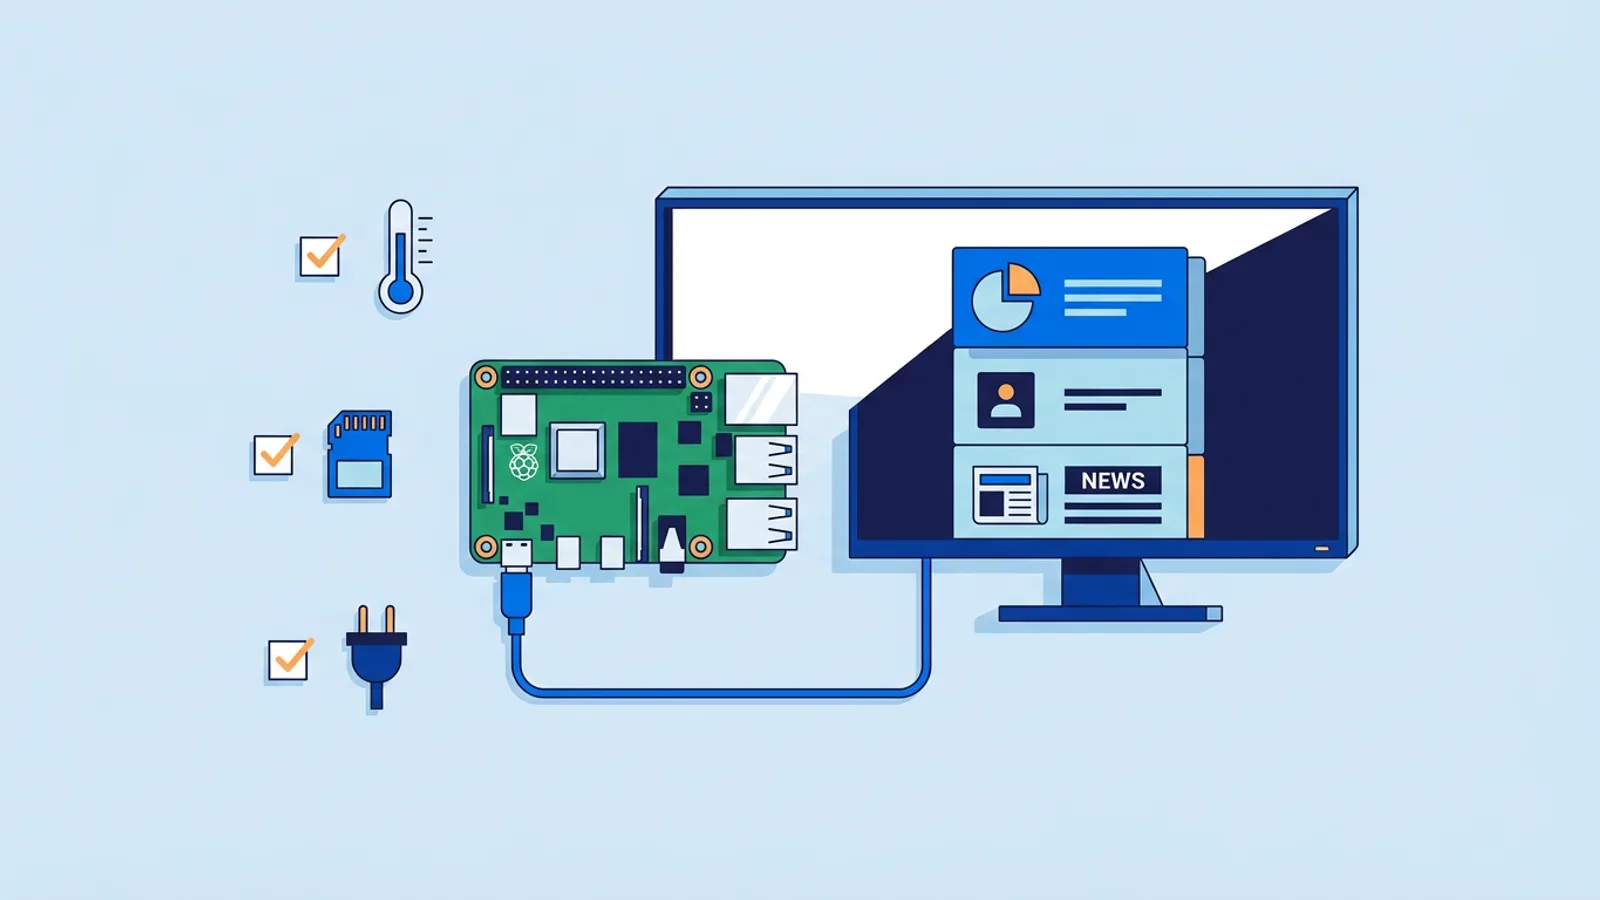
- Flash Raspberry Pi OS with a desktop environment onto the SD card (the Raspberry Pi OS imaging tool handles this in a few minutes).
- Boot the Pi, connect it to your network (Wi-Fi or Ethernet), and plug it into the TV's HDMI port.
- In the TVpilot dashboard, create a new player and generate a 6-character claim code.
- Run the one-command installer it gives you (a
curl … | bashline) on the Pi.
That installer sets up Chromium in kiosk mode, configures it to auto-start on boot via a systemd service, hides the mouse cursor, and installs a watchdog that restarts the player within about 10 seconds if it crashes. You don't touch any of that manually. If you'd rather understand what's happening under the hood, the Raspberry Pi kiosk mode guide breaks down the same components step by step.
For a smart TV or Fire TV Stick, skip the installer and instead open the browser app and point it at the player URL TVpilot generates for that screen. It's a valid route, just without the auto-restart watchdog or CEC power scheduling that the Pi setup gives you.
Step 4: Build the actual menu
With the screen claimed and online, build the content:
- Use AI Studio to generate a designed menu screen from a short brief (dish names, prices, a description of your style) if you don't want to design layouts by hand.
- Or assemble a playlist manually from images, PDFs, or a web page, with drag-and-drop ordering and transitions between items.
- Add a weather widget if it's relevant to a seasonal menu, or keep it strictly to items and prices.
Our separate walkthrough on how to make a digital menu board goes deeper into layout choices, pricing tables, and swapping items between breakfast and lunch menus if that's the piece you need most.
Step 5: Schedule and go live
Set time-slot schedules per day of week (breakfast menu until 11am, lunch after) and choose landscape or portrait orientation to match your screen mount. If you're on a Pi, turn on HDMI-CEC power scheduling so the TV switches to standby overnight and back on before opening, without a smart plug. The player checks the schedule roughly once a minute, so changes take effect quickly.
Once the schedule is set, that's the installation done. Updates to the menu happen from the dashboard from then on; nobody needs to touch the TV again.
Common installation mistakes
| Mistake | What happens | Fix |
|---|---|---|
| Mounting before running cables | Cable stuck too short, TV has to come back down | Route HDMI and power first, mount second |
| Using a Pi 2 or 3 for video-heavy menus | Choppy playback, occasional freezes | Use a Pi 4 or 5 for smooth video |
| Skipping HDMI-CEC test before mounting | TV doesn't respond to remote power scheduling once wall-mounted | Test CEC power on/off before final mounting |
| Building the whole menu before checking legibility from counter distance | Text too small once mounted | Preview at real viewing distance before finalizing layout |
| No network at the mount location | Player can't fetch updates, sits stale | Confirm Wi-Fi signal or run Ethernet before installation day |
When TVpilot is (and isn't) the right fit
TVpilot is a good fit if you want a hosted dashboard that handles scheduling, remote updates, and TV power without you writing scripts or babysitting a device. The Pi installer, the watchdog, and CEC scheduling are built specifically to make a small unattended screen behave. Free covers one screen and 500 MB of storage with no card required, which is enough to test a single menu board end to end before paying anything.
It's not the right fit if you need a fully offline system: the Pi player recovers automatically after a network outage, but it still needs internet access to receive content updates, so a location with unreliable connectivity needs a backup plan. It's also not open source or self-hostable, so if that's a hard requirement for your business, look elsewhere. And if you're running dozens of screens across many sites with no browser or Pi at all, our page on browser-based smart TV signage or the Android TV and Fire TV Stick options are worth comparing against the Pi route before you commit hardware budget.
Wrapping up
Most digital menu board installations go wrong in the physical decisions made in the first hour: wrong screen size for the viewing distance, cables routed after mounting, or a player that can't handle video smoothly. Get the hardware and mount right, and the software setup takes less time than unboxing did. If you're ready to claim your first screen and build a menu, sign up and generate a claim code, the whole install from unboxing to a live menu usually takes under an hour once the TV is on the wall.
Frequently asked questions
Do I need a Raspberry Pi for a digital menu board, or will a smart TV work?
A smart TV's built-in browser can run a menu board and needs no extra hardware, but a Raspberry Pi gives you a dedicated kiosk setup with automatic restarts if the app crashes, remote updates, and HDMI-CEC power scheduling. If your smart TV's browser is fast and reliable, it's a valid starting point; a Pi is the more robust long-term choice, especially for unattended locations.
Does the menu board need to stay connected to the internet?
Yes, an internet connection is needed to receive content and schedule updates. The Raspberry Pi player is built to recover automatically once a connection drops out and comes back, but it can't pull new menu content while offline, so locations with spotty Wi-Fi should have a stable connection plan before installation.
How long does a typical digital menu board installation take?
For a single screen on a Raspberry Pi, expect under an hour once the TV is mounted: flashing the SD card, running the installer with a generated claim code, and building a first menu with drag-and-drop or AI Studio are each just a few minutes. Mounting and cable routing usually take longer than the software setup.
Can I schedule different menus for breakfast and lunch automatically?
Yes, TVpilot supports scheduling per time slot and day of week, so you can set a breakfast playlist to show until a set time and switch automatically to lunch or dinner content afterward without touching the screen.