Raspberry Pi Digital Signage: The Complete 2026 Guide
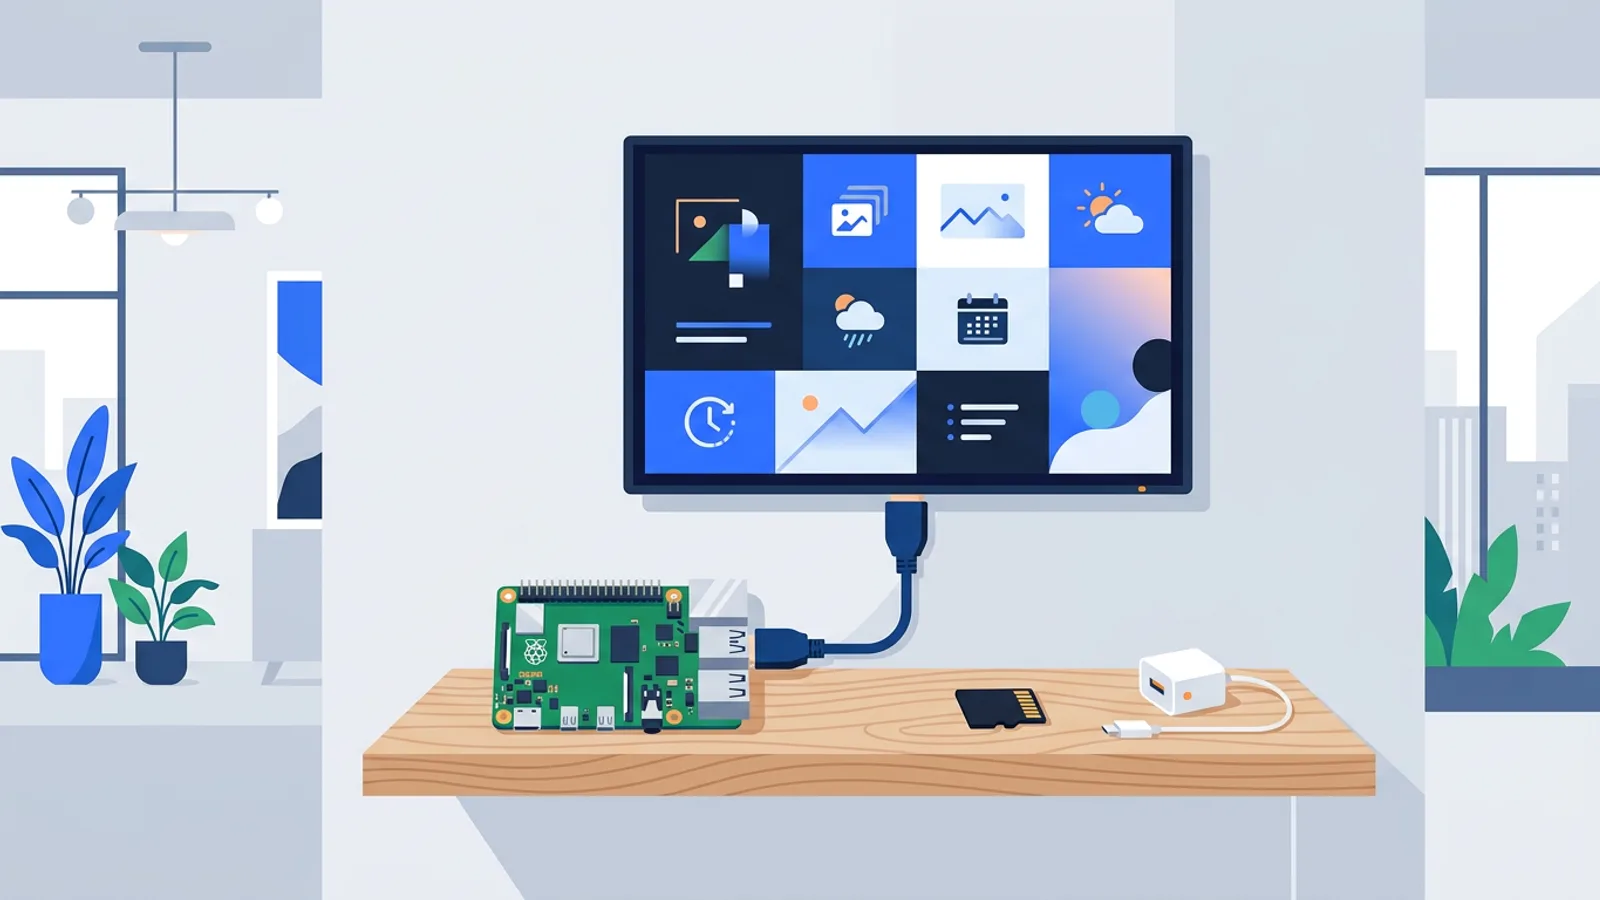
If you want a screen that shows your menu, promos, or dashboards on autopilot, a Raspberry Pi is one of the cheapest and most reliable ways to build it. This guide covers which Pi to buy, how to set up the OS, how to get signage software running with one command, and how the numbers stack up against buying a commercial media player.
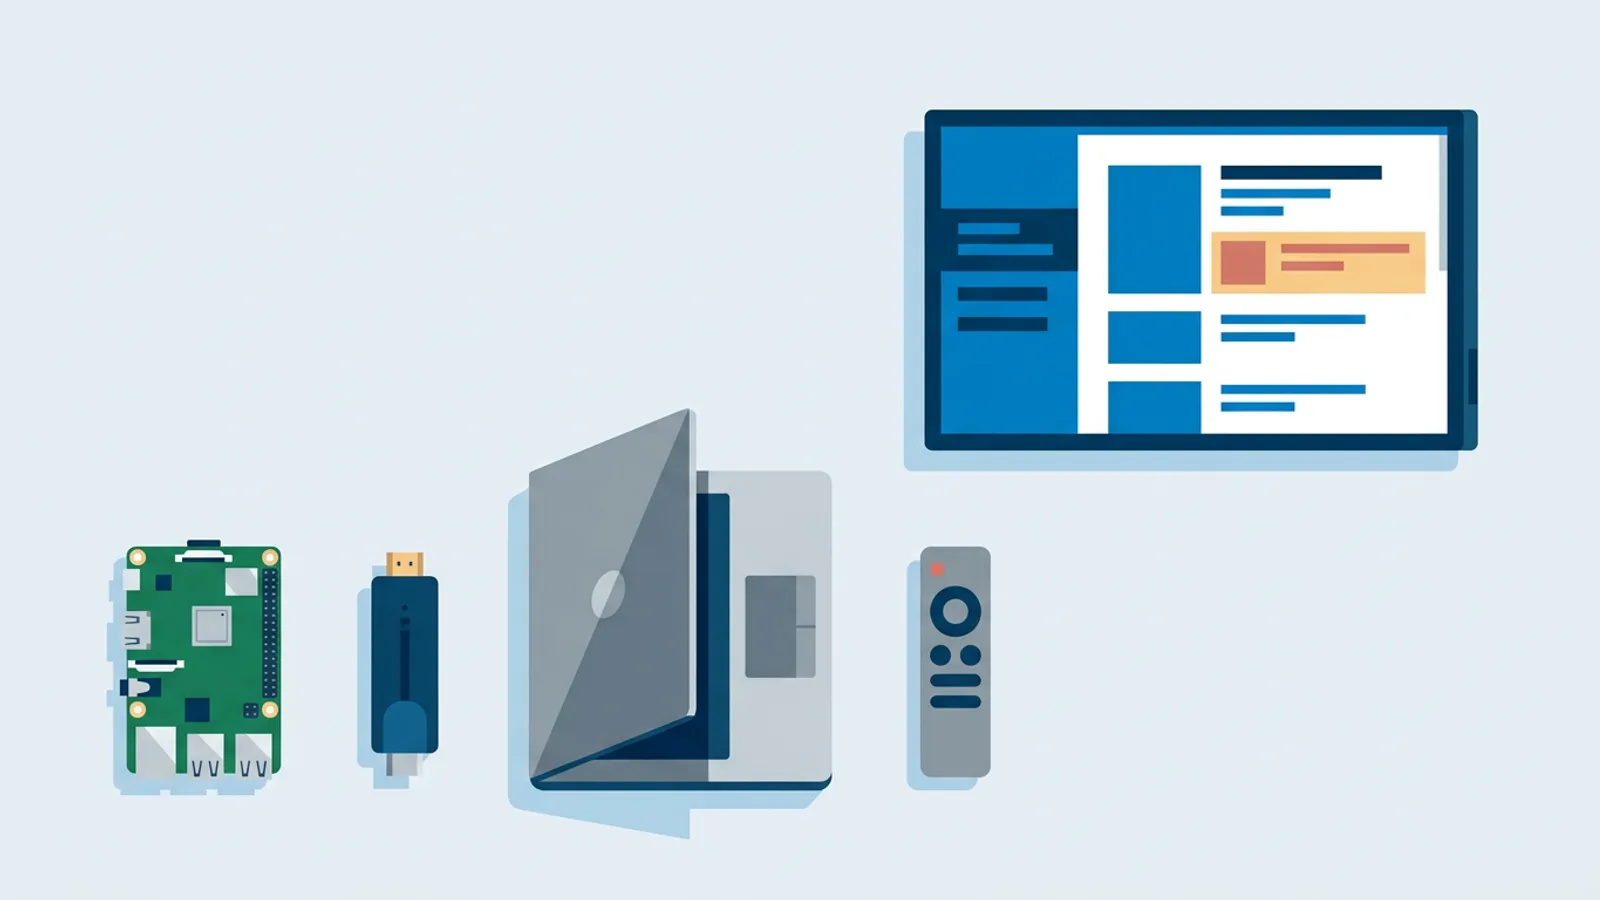
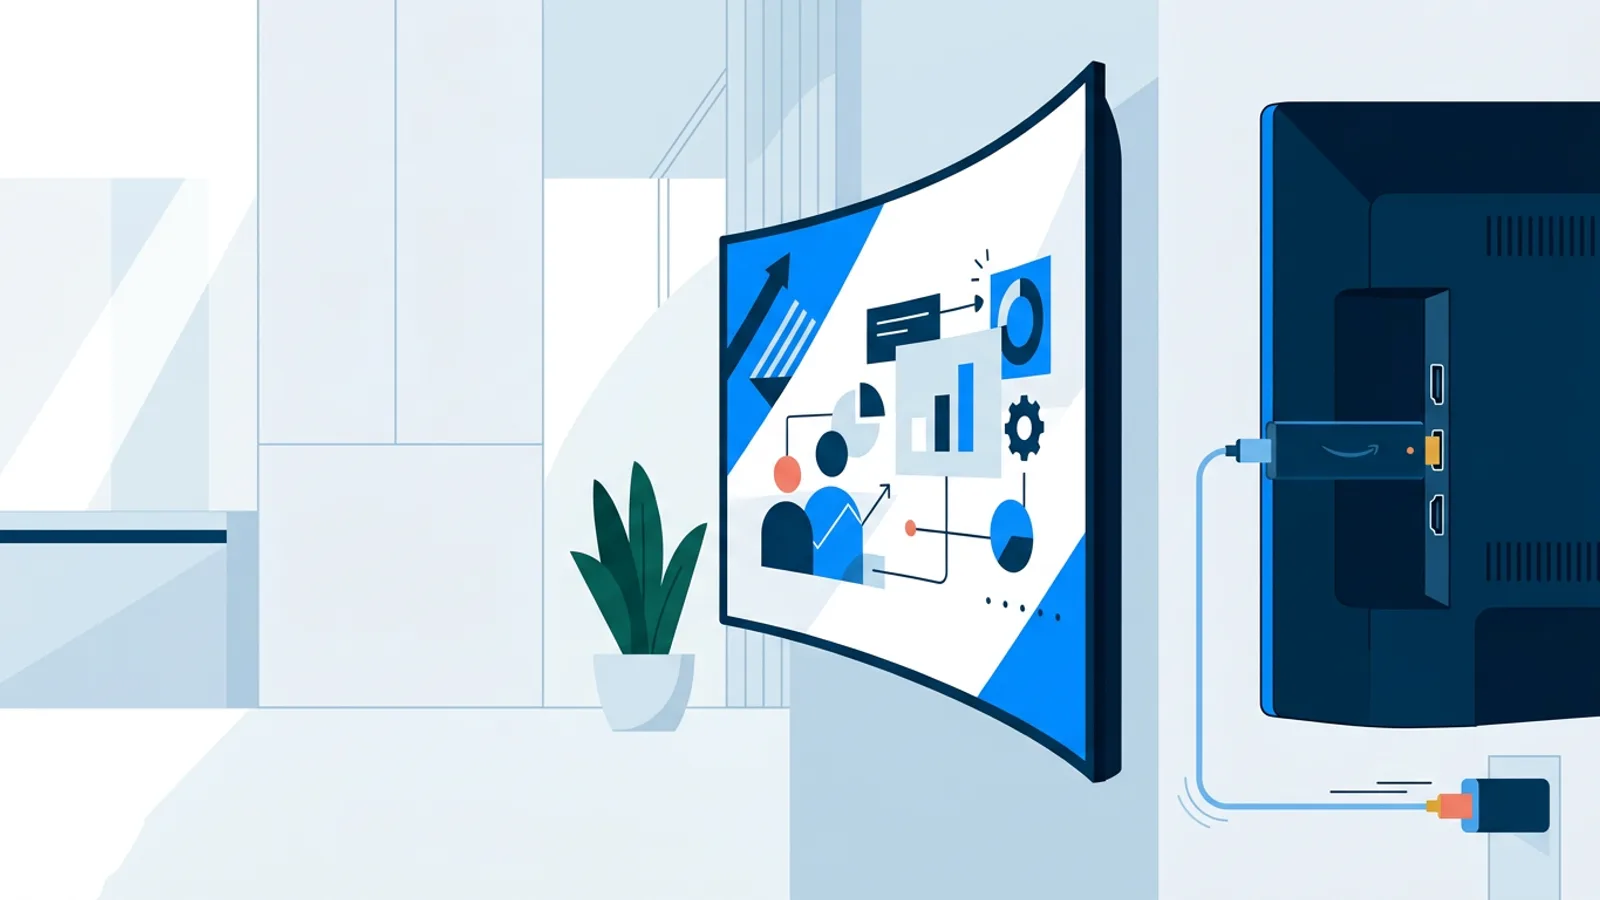
A Raspberry Pi digital signage setup is popular because the hardware is cheap, well documented, and genuinely capable of driving a TV for years without fuss. A fire stick or an old laptop can work too, but the Pi hits a sweet spot of price, control, and reliability that's hard to beat once you get the setup right. We put together a dedicated Raspberry Pi signage setup with the exact install steps if you want to skip ahead.
This is the umbrella guide. If you specifically want to lock a Pi (or any Linux box) into full-screen browser mode with no window chrome, see our Raspberry Pi kiosk mode guide, which digs deeper into that one piece.
Which Raspberry Pi to buy for signage
Any Pi that can run Raspberry Pi OS with a desktop will work as a signage player. The differences show up in video smoothness and how many browser tabs or heavy web pages you can throw at it.
- Pi 3: Works for static images, simple slideshows, and low-motion content. Struggles with 1080p video and busy web pages.
- Pi 4: The practical minimum for most signage today. Handles 1080p video, transitions, and typical menu boards or promo loops without drama.
- Pi 5: Recommended if you're running video-heavy playlists, higher resolutions, or want headroom for years of software updates. Also the fastest to boot and recover after a power cut.
For digital signage on a Raspberry Pi 5, you're mostly paying for future-proofing and smoother 4K or multi-video playlists rather than unlocking features you can't get on a Pi 4. If you already own a Pi 3 or 4, it's worth trying it with your actual content before buying new hardware.
Micro SD card and power supply
Don't cheap out here. A card marketed for reliability (not just its speed rating) will fail less often when it's power-cycled for years by a TV that's turned off overnight. Use the official Raspberry Pi power supply for your model. Undervoltage is one of the most common causes of "random" freezes people blame on software.
Choosing the OS
Use Raspberry Pi OS (the official OS, based on Debian) with the desktop environment, not the Lite/headless version. Signage players need a desktop session running so a browser can display in kiosk mode. Flash it with Raspberry Pi Imager, which lets you pre-configure Wi-Fi, hostname, and SSH before first boot. Full details on flashing and first-boot setup live on the official Raspberry Pi documentation site if you want the exhaustive version.
Once the OS boots to the desktop and connects to your network, the Pi is ready for signage software.
Installing signage software: the one-command route
You can hand-roll this yourself: install Chromium, write a systemd service, add a --kiosk flag, hide the cursor, and build your own watchdog to restart things when they crash. That's a legitimate path and our Chromium kiosk mode guide walks through it if you want full manual control or you're self-hosting something already.
The faster route, and the one we built TVpilot for, is a single install command generated from a dashboard. In TVpilot, you create a player, get a 6-character claim code, and run a command like:
curl -sSL https://tvpilot.app/install.sh | bash
That one command sets up Chromium in kiosk mode, configures auto-start on X11 or Wayland plus a systemd service so it survives reboots, adds quiet boot, hides the cursor, and installs a self-healing watchdog that restarts the player within about 10 seconds if it crashes or the browser hangs. You then manage playlists, scheduling, and screen orientation entirely from the web dashboard, no SSH required after that first command.
Whichever route you pick, the resulting setup is the same shape: a Pi booting straight into a full-screen browser showing your content, with something watching over it so a stuck tab doesn't mean a blank screen at 8am.
HDMI-CEC: turning the TV on and off automatically
Most signage doesn't need to run 24/7. A shop TV doesn't need to be lit up at 3am, and running it constantly wastes power and shortens the panel's life. HDMI-CEC lets the Pi send power commands to the TV over the same HDMI cable that carries video, no smart plug or separate remote needed.
On a TVpilot player, the Pi checks the dashboard's power schedule every minute and switches the TV on or into standby via HDMI-CEC automatically. You set the schedule once (say, on at 8am, off at 8pm, skip Sundays) and the Pi and TV handle the rest. Not every TV implements CEC identically, so it's worth testing your specific model, but most sets from the last decade support it well enough for basic on/standby control.
Reliability: watchdogs, updates, and recovering from outages
The boring but important part of any unattended screen is what happens when something goes wrong. Power blips, Wi-Fi drops, and browser tabs that lock up all happen eventually, especially on a screen running for months at a stretch.
A few things matter here:
- A watchdog process that detects a dead or frozen browser and restarts it without a human touching the device.
- Automatic recovery after power loss, so the Pi boots straight back into signage mode with no manual steps.
- Remote reboot and remote update, so you're not walking across a shop floor or driving to a client site to fix a stuck screen.
TVpilot's Pi player includes a watchdog that restarts the browser within roughly 10 seconds of a failure, plus a daily update check at 03:00 and on-demand remote update and reboot triggered from the dashboard. One caveat: the Pi player still needs an internet connection to pull new content and schedule changes. It recovers automatically once connectivity comes back, but it isn't designed as a fully offline appliance.
Cost math: Pi signage vs a commercial media player
Exact prices vary by region and retailer, so treat this comparison as a starting point for your own math rather than a fixed quote.
| Item | Raspberry Pi route | Commercial signage player |
|---|---|---|
| Hardware | Pi board + card + power supply + case | Proprietary box, often locked to one vendor's software |
| Software | Free/open tools or a hosted service like TVpilot | Often bundled or subscription, sometimes both |
| Flexibility | Runs any browser-based content, swappable OS | Usually locked to the vendor's ecosystem |
| Repairability | Standard parts, easy to replace | Depends on vendor, sometimes proprietary |
The Pi generally wins on upfront hardware cost and flexibility. Where it can lose is your time: flashing an OS, configuring kiosk mode, and building a watchdog from scratch takes an afternoon if you've done it before, longer if you haven't. That's the gap the one-command installer is meant to close. If you're comparing several low-cost options side by side, our cheapest digital signage player breakdown lays out how a Pi stacks up against fire sticks and old laptops too.
Where TVpilot fits, and where it doesn't
TVpilot is a good fit if you want a Pi (or several) managed from one dashboard, with scheduling, HDMI-CEC power control, and automatic recovery already built in, and you don't want to maintain your own kiosk scripts. The free tier covers one screen with 500 MB of storage and no credit card, which is enough to try the whole workflow before committing. Paid plans start at €5/month for up to 5 screens if you're running more than one sign.
It's not the right fit if you specifically need a self-hosted, open-source stack you control end to end (TVpilot is hosted SaaS, not self-hostable), or if your screens need to keep changing content with no internet connection at all. For those cases, the DIY kiosk-mode approach or a fully offline player setup will serve you better.
Getting started
If you already have a spare Pi sitting in a drawer, the fastest way to see whether this whole approach fits your space is to build one screen and watch it run for a week. Flash Raspberry Pi OS, connect it to your TV, and either follow the manual kiosk-mode route or sign up for a free TVpilot account to get the one-command installer and a dashboard to manage everything from. Either way, you'll have a real answer in an afternoon instead of a guess.
Frequently asked questions
Which Raspberry Pi model is best for digital signage?
A Pi 4 is the practical minimum for smooth 1080p video and typical menu boards or promo loops. A Pi 5 is worth the extra cost if you're running video-heavy playlists, higher resolutions, or want more headroom for future software updates. A Pi 3 can work for simple static-image slideshows but struggles with video.
Do I need a separate app to turn the TV on and off automatically?
No. HDMI-CEC lets the Pi send power commands directly to the TV over the HDMI cable. With TVpilot's Pi player, the device checks the dashboard's power schedule every minute and switches the TV on or into standby via HDMI-CEC, with no smart plug required. Support depends on how well your specific TV implements CEC.
Can a Raspberry Pi signage player run without an internet connection?
It needs a connection to pull new content, playlist changes, and schedule updates. If the connection drops, the player keeps showing its last content and recovers automatically once internet access returns, but it isn't designed as a fully offline appliance.
Is a Raspberry Pi cheaper than buying a commercial signage player?
Usually yes on hardware cost, and you get more flexibility since it's a general-purpose computer running a browser rather than a locked-down vendor box. The tradeoff is setup time: configuring kiosk mode and a reliability watchdog yourself takes real effort, which is why a one-command installer or a hosted signage service can save hours compared to building it from scratch.