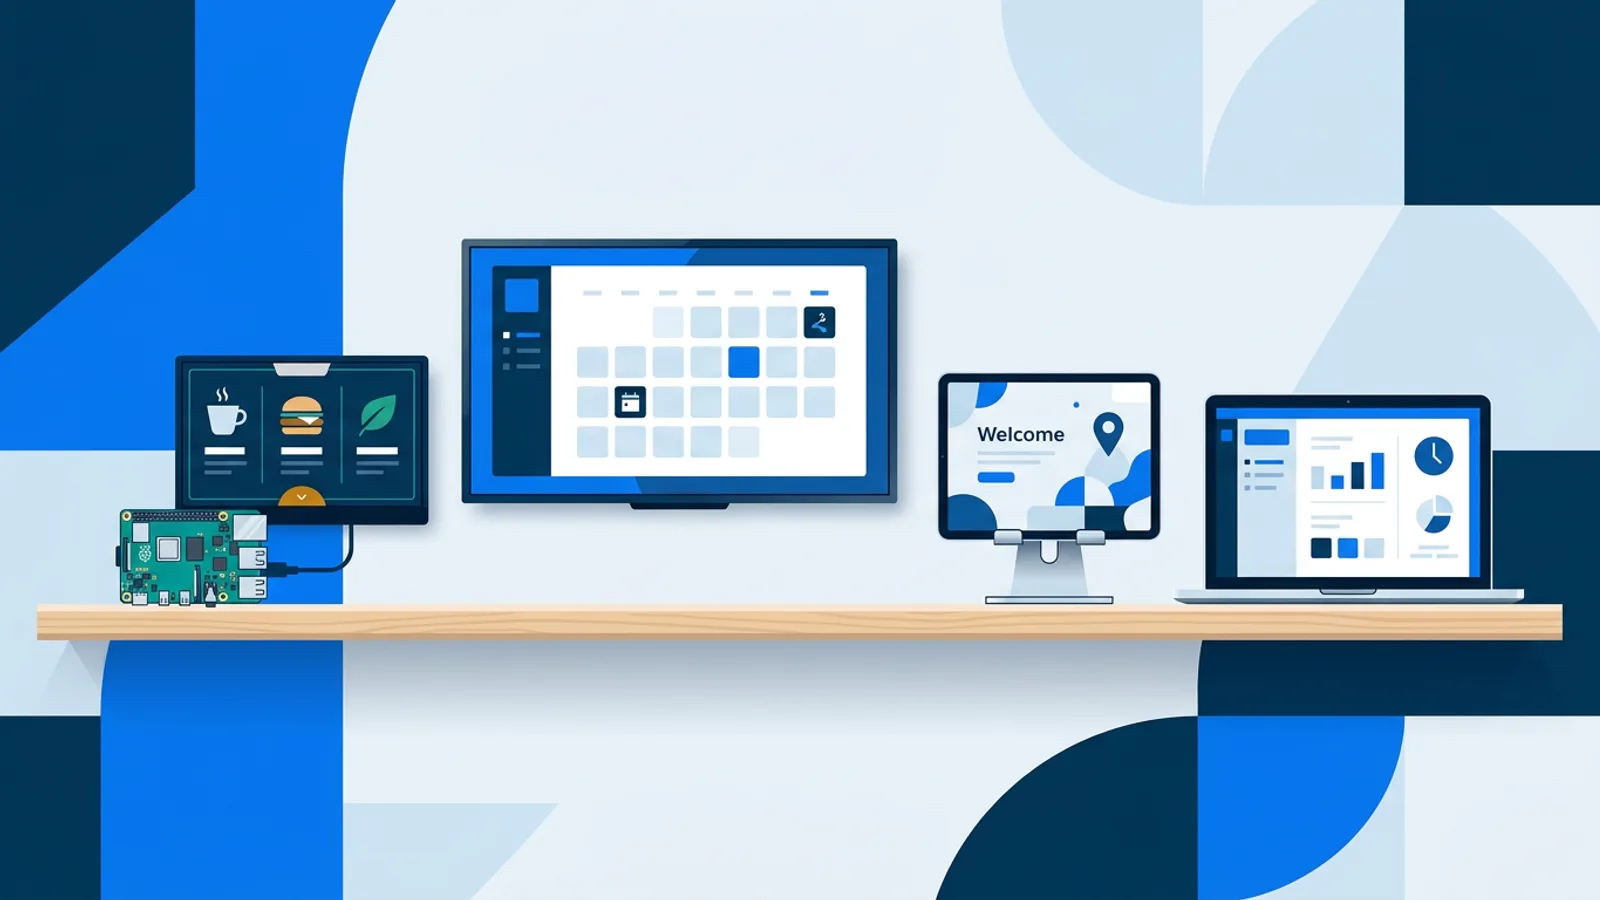
Digital Signage Guide: From Spare TV to Live Screen
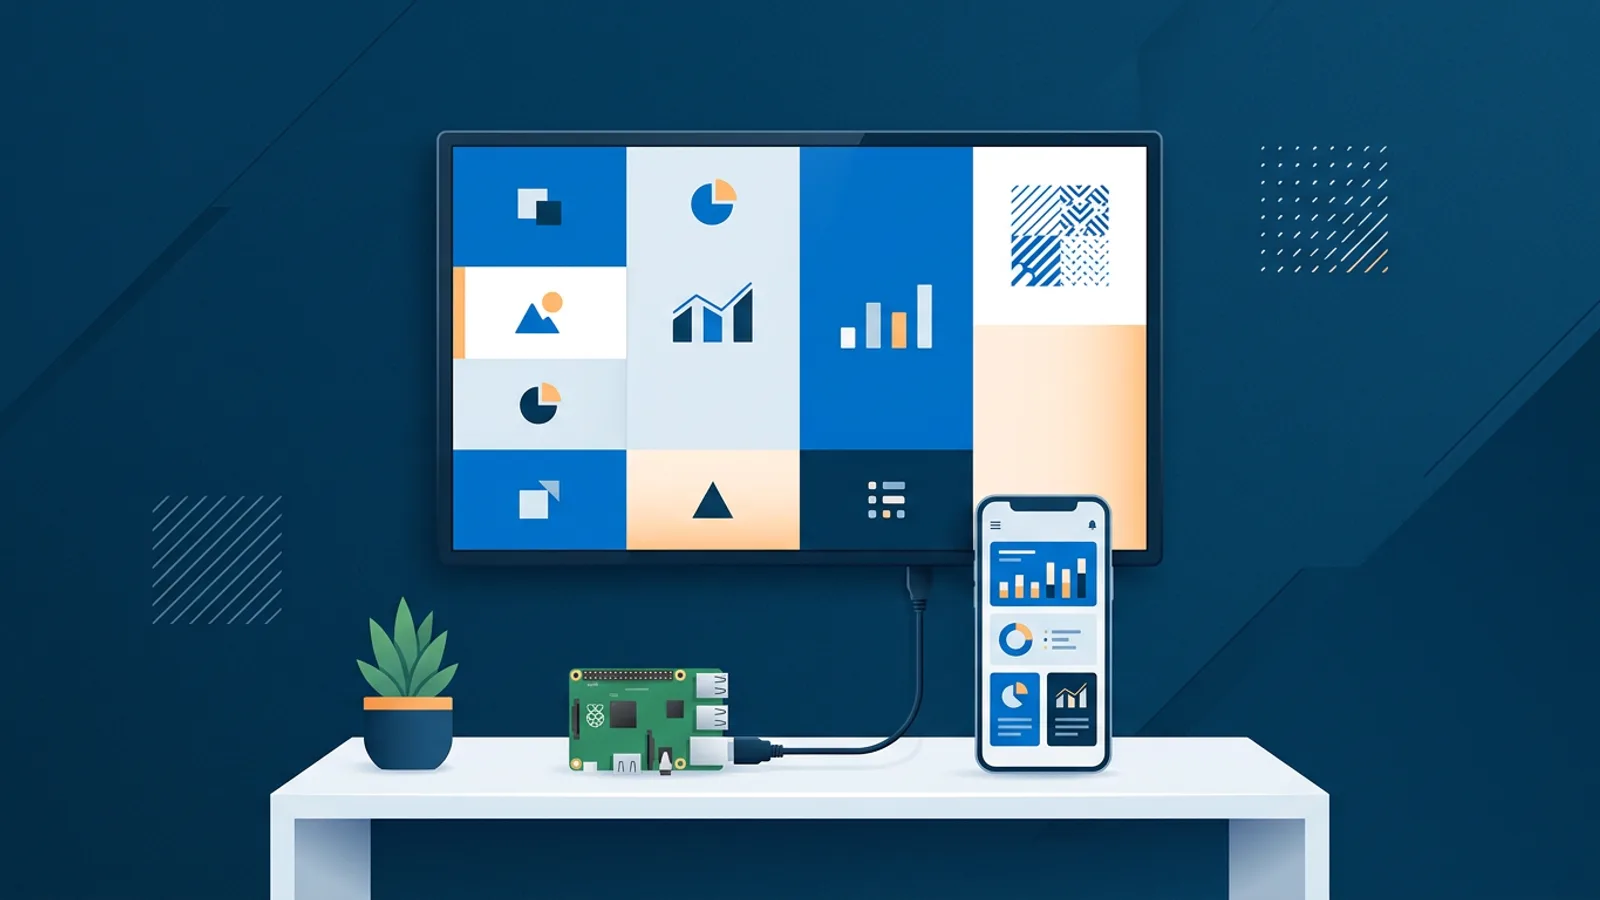
A digital signage guide should get you from a blank TV to a working screen without reading a stack of vendor brochures. This one covers hardware, software, content, scheduling and maintenance in the order you'll actually deal with them, plus the mistakes that make a screen look amateurish.
Most small businesses already own the hardest part: a TV. What's missing is a small computer to feed it content and a way to update that content from a phone or laptop instead of walking up with a USB stick. The cheapest reliable option for that job is a Raspberry Pi digital signage player, which costs about the price of a nice dinner and boots straight into a full-screen browser without anyone touching a keyboard.
Other routes work too, and which one fits depends on how many screens you're running and how much you want to tinker.
The short version of this digital signage guide
If you only read one paragraph, read this one. Pick a small computer or a browser app to drive the screen, pick software to manage what plays and when, build one clean screen with big readable text, set a schedule so the TV turns on and off by itself, and check in on it once a week until you trust it. Everything below fills in the details.
Step 1: Pick the hardware
The screen itself is almost never the problem, any TV with an HDMI port works. What varies is the device that plugs into it.
| Option | Cost | Good for | Downside |
|---|---|---|---|
| Raspberry Pi | ~€40-80 for the board | Reliability, HDMI-CEC power control, self-healing setups | Needs a one-time install |
| Fire TV Stick | ~€30-50 | Places that already own one | No native signage app, browser-only route |
| Android TV device | Varies | TVs with Android TV built in | No native signage app, browser-only route |
| Smart TV browser | €0 (already owned) | Testing, single-screen setups | Browser quality varies by TV brand |
| Old laptop | €0 (already owned) | Temporary or backup screens | Bulky, fan noise, wastes a laptop |
We cover the Fire TV Stick, Android TV and browser-based routes in more depth on their own pages if you want to compare: Fire TV Stick signage, Android TV signage, and running signage in a smart TV's own browser. For anything beyond one screen, the Raspberry Pi route tends to be less fiddly over time because it handles kiosk mode, auto-start and crash recovery on its own.
Step 2: Choose the software
This is where most of the actual decisions live. You've got three broad paths: hosted signage software, self-hosted open source signage, or just leaving a browser tab open and refreshing it manually.
Manual browser tabs are fine for a single screen showing a static page that rarely changes, and cost nothing beyond the hardware, see our breakdown of what you actually get from free digital signage. Self-hosting open source signage software gives you full control but comes with real ongoing costs in server time and your own hours, which we've priced out in the real cost of self-hosting signage. Hosted signage software, like TVpilot, trades a monthly fee for not having to run a server, write playlists by hand, or debug why a screen went dark overnight.
None of these is universally correct. A single-screen coffee shop with a menu that changes twice a year can get by on a browser tab. A five-location retailer coordinating promotions across dozens of screens needs scheduling, remote updates and monitoring that a plain browser can't give you.
Step 3: Build your first screen
Once the hardware and software are sorted, the actual content is where digital signage tips matter most. A few things that consistently separate a screen that looks intentional from one that looks like an afterthought:
- Keep text large enough to read from across the room, not from a laptop's arm's length. Our font size guide has concrete pixel and point recommendations by viewing distance.
- Use high contrast between text and background. Light gray text on white looks fine on a monitor and disappears on a TV; see what actually works for color contrast.
- One idea per screen. A single promotion, a single menu, a single welcome message. Cramming five things onto one slide means nobody reads any of them.
- If you're not a designer, don't try to be one from scratch. Tools like TVpilot's AI Studio generate a designed screen (promo, menu, opening hours, welcome message) from a short written brief, which is a faster starting point than a blank canvas. Our templates vs AI-generated designs piece compares that approach against picking a template.
- Build playlists, not single images. Mixing a few promotional slides with a weather widget or opening-hours screen keeps content feeling current even between updates.
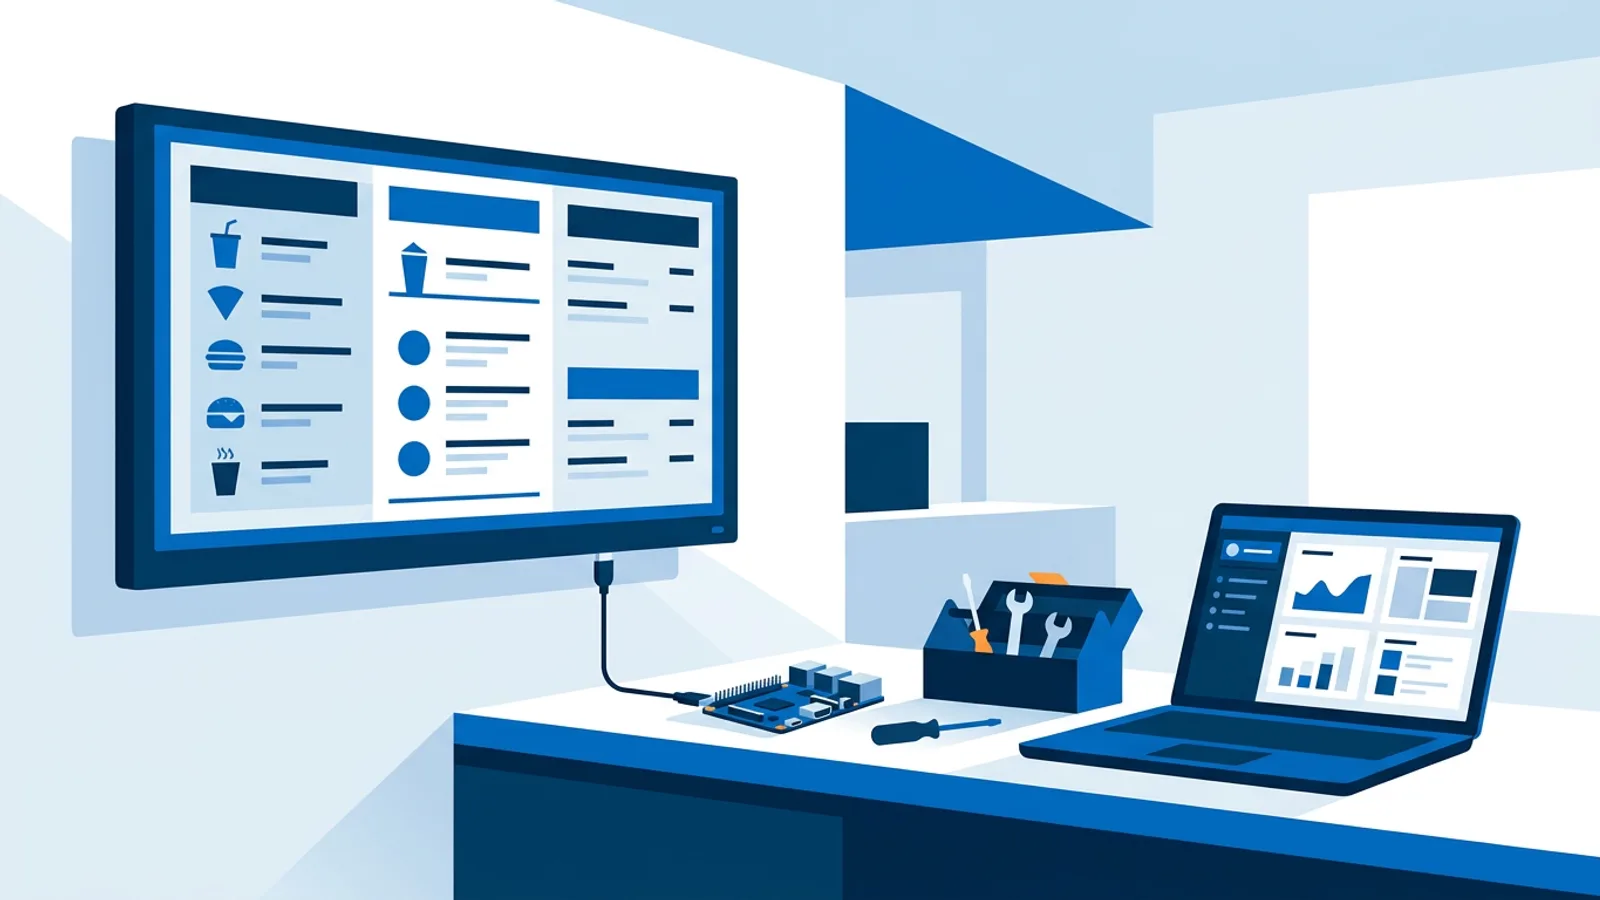
For menu boards specifically, layout mistakes are common enough that we wrote a dedicated list of menu board design mistakes to avoid.
Step 4: Schedule power and content
A screen that's on 24/7 burns power and shortens the panel's life for no reason if your business is only open 9 to 6. Two things to automate here: what content plays when, and when the TV itself turns on and off.
On a Raspberry Pi player, TVpilot checks a power schedule you set in the dashboard once a minute and switches the TV on or into standby over HDMI-CEC, so there's no separate smart plug to buy or wire. Content scheduling works the same way: set time slots and days of the week, and different playlists play automatically without anyone touching the screen. If you're setting this up manually rather than through hosted software, our walkthrough on scheduling a TV to turn on and off automatically covers the CEC and smart-plug options in detail.
Step 5: Monitor and keep it running
A screen nobody checks eventually goes dark and stays dark, usually right when a customer notices. Two low-effort habits fix most of this: know when a screen goes offline, and let updates apply themselves.
A TVpilot player reports its status back to the dashboard, so you can see at a glance whether a screen is online, and get an updated dashboard even if the physical location is somewhere you don't visit often. The Raspberry Pi player also includes a watchdog that restarts the display within about ten seconds if the browser crashes, and checks for its own software updates every night at 3am, so you're not manually SSHing into a Pi to patch it every few months.
Common mistakes to avoid
A few patterns show up again and again on badly-run signage:
- Setting it up once and never revisiting it. Stale promotions and outdated hours actively work against you.
- Ignoring viewing distance when picking fonts and colors, then wondering why nobody reads the screen.
- Running everything off one person's personal laptop with no backup plan for when that laptop is unavailable.
- Skipping a schedule and leaving the TV on all night for no reason.
Is TVpilot the right fit?
TVpilot is a good fit if you want a screen (or several) managed from a dashboard without hosting your own server, and you're fine paying a monthly fee for that convenience. The free plan covers one screen and 500 MB of storage with no credit card required, which is enough to try the whole workflow before spending anything, and paid plans scale up to 25 screens on Pro at €19/month. If your setup is a Raspberry Pi, TVpilot's installer handles kiosk mode, auto-start, the watchdog and TV power scheduling in one step, which is the fastest path we know of from a bare Pi to a working sign.
It's not the right fit if you specifically need to self-host or need the code itself, TVpilot is hosted software, not open source. It's also not built for fully offline deployments, since players need an internet connection to pull content updates (a Raspberry Pi player does recover automatically once connectivity comes back). And if you're set on a Fire TV Stick or Android TV box, know that those run through the browser rather than a dedicated app right now.
If you're weighing this against building it yourself, our small business starter guide is a good next read for sizing up the whole decision, hardware and software together.
Getting started
Pick one screen to start with, get the hardware plugged in, and build one clean playlist before you worry about anything fancier. Sign up for a free TVpilot account and you can have that first screen live within the hour, no credit card needed.
Frequently asked questions
What is the cheapest way to set up digital signage?
Using a TV you already own with a Raspberry Pi is usually the cheapest reliable setup, running around the cost of the board itself since the display is already paid for. A free-tier signage account and a spare Pi can get a single screen running with no ongoing software cost. Fire TV Sticks and old laptops also work if you already own one, though they lack a dedicated signage app and run through a browser instead.
Do I need special software to run digital signage, or can I just use a browser tab?
A single static page that rarely changes can run fine as a plain browser tab left open. Once you need scheduling, multiple screens, remote content updates, or monitoring to know when a screen goes offline, dedicated signage software (hosted or self-hosted) saves far more time than it costs.
How do I stop a digital signage TV from staying on all night?
On a Raspberry Pi player, HDMI-CEC power scheduling switches the TV to standby and back on automatically based on a schedule you set, no smart plug required. Without that, a CEC-capable smart plug on a timer or the TV's own built-in sleep timer are the usual manual alternatives.
Can I run digital signage without an internet connection?
Most hosted signage platforms, including TVpilot, need an internet connection so the player can pull new content and schedule changes; playback isn't designed for fully offline use. A Raspberry Pi player will recover automatically once the connection returns after a temporary outage, but a permanently offline location needs a different approach, like manually loading content onto local storage.