Raspberry Pi Digital Signage Tutorial: Live in 15 Minutes
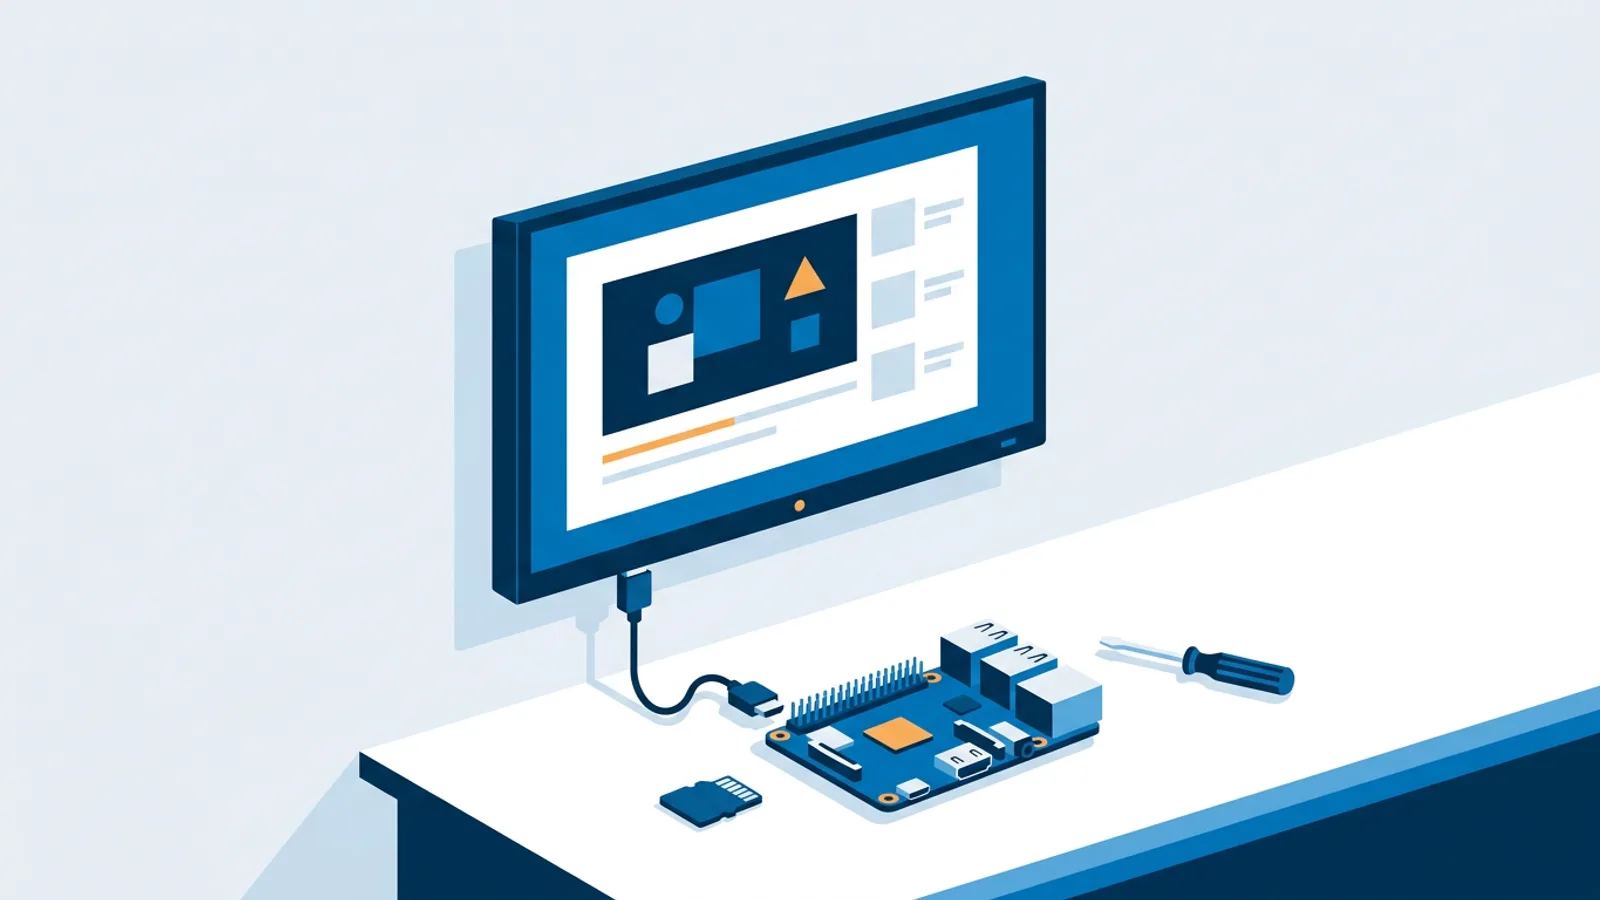
If you have a spare Raspberry Pi and a TV with an HDMI port, you can have a working sign running today. This raspberry pi digital signage tutorial skips the buyer's-guide detours and the manual kiosk-mode rabbit hole: flash the SD card, connect to Wi-Fi, plug into the TV, run one installer command, and you're looking at a live playlist in about fifteen minutes of actual hands-on work (plus however long the SD card takes to flash and update). For background on which Pi model and accessories to buy first, see the Raspberry Pi digital signage guide.
This walkthrough assumes you already own a Pi and a TV and just want it working. If you're still shopping for hardware, the Raspberry Pi hardware list covers SD cards, power supplies and mounts in more depth.
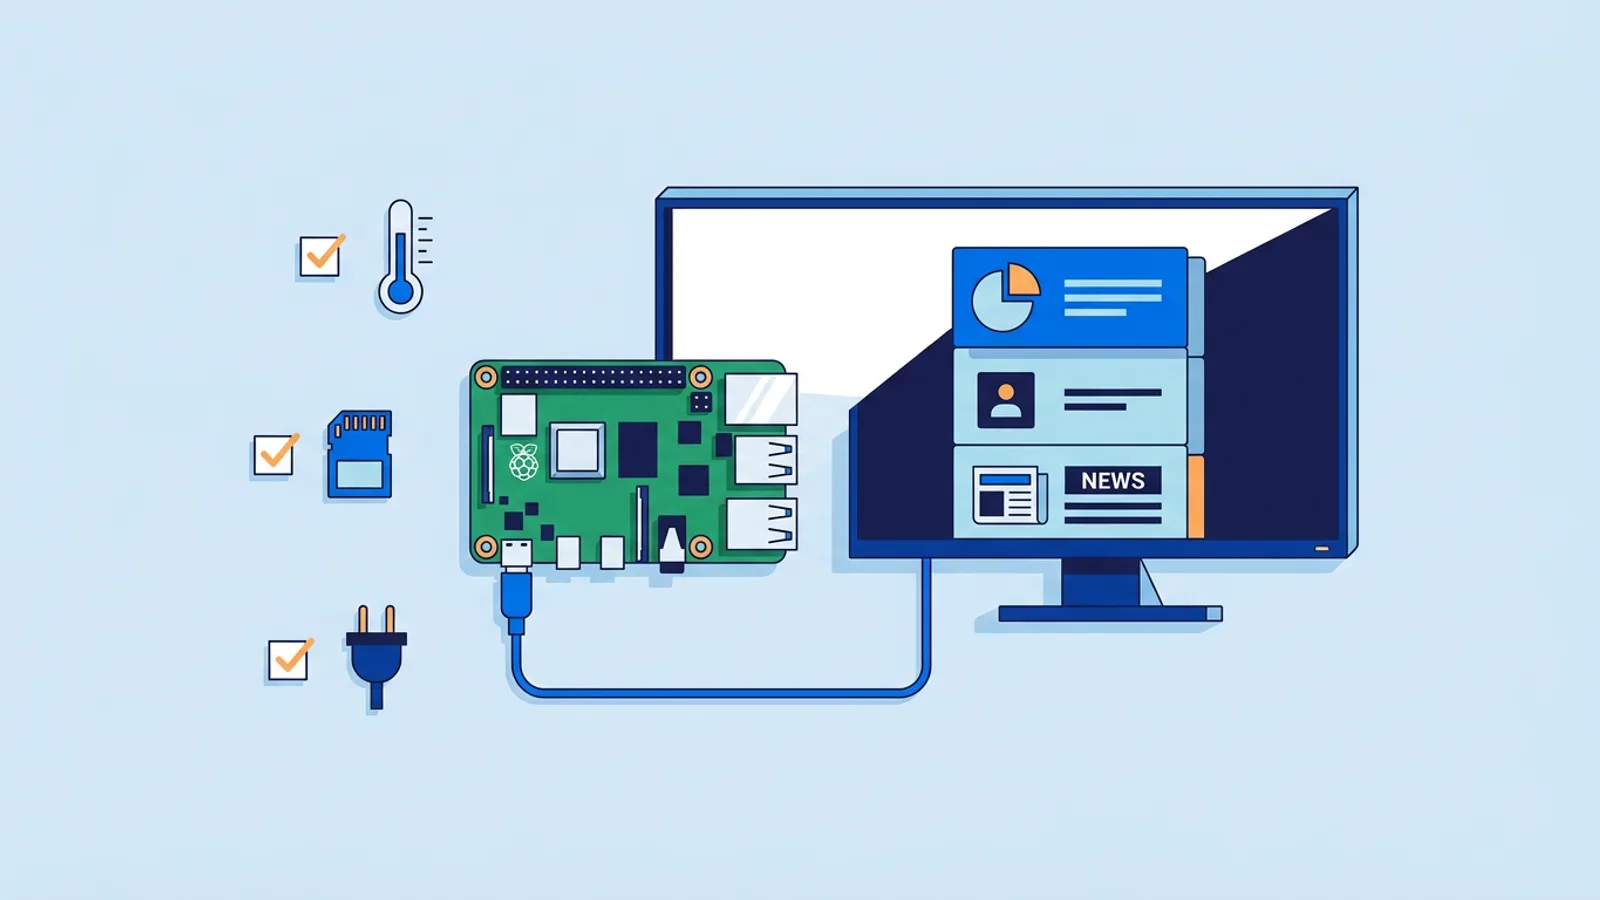
What you need before you start
- A Raspberry Pi. Pi 4 or Pi 5 is recommended for smooth video playback; older models (Pi 3 and earlier) will boot and show images fine but can stutter on video-heavy playlists.
- A microSD card, 16 GB or larger, and a way to flash it (a laptop with an SD card slot or a USB adapter).
- A TV or monitor with a free HDMI port, and an HDMI cable that matches your Pi's port (Pi 4/5 use micro-HDMI, older Pis use full-size HDMI).
- A Wi-Fi network (or an Ethernet cable, if the TV is near your router).
- A phone or laptop to set up the TVpilot dashboard.
Step 1: Flash Raspberry Pi OS with desktop
Download Raspberry Pi Imager from the official Raspberry Pi site and install it on your computer. Insert the microSD card, open Imager, and choose:
- Device: your Pi model
- OS: Raspberry Pi OS (64-bit), the version with desktop, not "Lite"
- Storage: your microSD card
Before writing, click the gear or "Edit Settings" icon to pre-configure Wi-Fi, a hostname, and SSH access. Filling this in now saves you from plugging in a keyboard and mouse later. Set a hostname you'll recognize (like lobby-tv), enter your Wi-Fi SSID and password, and enable SSH if you might want remote terminal access down the line.
Write the image. This takes several minutes depending on your card and USB port speed. Once it finishes, eject the card safely and move it to the Pi.
Step 2: First boot and Wi-Fi setup
Insert the SD card into the Pi, connect power, and wait. First boot takes a bit longer than normal because the OS is expanding the filesystem to fill the card. If you pre-configured Wi-Fi in Imager, the Pi should connect automatically within a minute or two of reaching the desktop.
If you skipped that step, connect a keyboard and mouse temporarily, click the Wi-Fi icon in the top-right corner of the desktop, choose your network, and enter the password. You can disconnect the keyboard and mouse once you confirm the connection (you won't need them again for this setup).
Step 3: Connect to the TV over HDMI
Plug the HDMI cable into the Pi and the TV, then power both on. Set the TV to the correct HDMI input. You should see the Raspberry Pi OS desktop at whatever resolution the TV reports; if the picture looks wrong (black bars, wrong resolution, overscan), open Raspberry Pi Configuration from the desktop menu and adjust the display settings, then reboot.
At this point you have a general-purpose Linux desktop plugged into a TV, not a sign. The next step turns it into one without you having to hand-configure a browser to run in kiosk mode, auto-restart itself, or auto-start on boot.
Step 4: Claim the screen and run the installer
Open a browser (on your phone, laptop, or the Pi itself) and sign up at TVpilot. No credit card is required, and the Free plan covers one screen forever, no trial gimmick, no countdown to cancel before you get charged.
In the dashboard, add a new screen. TVpilot generates a 6-character claim code and a one-line install command that looks like this:
curl -sSL https://tvpilot.app/install/AB12CD | bash
Open a terminal on the Pi (Raspberry Pi OS has one in the taskbar, or SSH in from another computer if you enabled it in Step 1) and paste that command in. The installer downloads and configures:
- Chromium running in kiosk mode, pointed at your player URL
- Auto-start on boot, whether you're running X11 or Wayland
- A systemd service that keeps the player running
- Quiet boot and a hidden mouse cursor, so nothing but your content shows
Let it finish, then reboot the Pi (sudo reboot or via the desktop menu).
Step 5: Confirm the player is live
After the reboot, the Pi should skip straight to full-screen content, no desktop, no address bar, no cursor. On a fresh screen, that means TVpilot's default placeholder playlist: a simple looping display confirming the connection worked. Back in the dashboard, the screen should show as online, along with its Wi-Fi signal strength and current status.
From here, replace the default playlist with your own images, videos, web pages or PDFs. Drag items into order, set transitions, and use "Push to screen" if you want changes to appear immediately rather than waiting for the next scheduled slot. If you want the sign to show different content at different times of day, the scheduling guide covers calendar-based playlists and dayparting.
What the installer gives you that hand-rolled kiosk mode doesn't
You can absolutely set up Chromium kiosk mode yourself with --kiosk flags, a .desktop autostart entry, and a cron job to restart it if it crashes. Plenty of people do, and our own Chromium kiosk mode guide and Raspberry Pi kiosk mode guide walk through exactly how, for anyone who wants full manual control or is building something outside a signage CMS.
What the installer adds on top, without any extra configuration on your part:
| Feature | Manual kiosk mode | TVpilot installer |
|---|---|---|
| Auto-start on boot | You configure it | Set up automatically |
| Crash recovery | Cron job or nothing | Watchdog restarts within ~10 seconds |
| Software updates | Manual SSH and redeploy | Automatic check at 03:00 daily, plus on-demand remote update |
| Remote reboot | SSH in yourself | One click from the dashboard |
| TV power schedule | Smart plug + separate automation | Optional HDMI-CEC scheduling, checked every minute, no extra hardware |
The HDMI-CEC piece is worth calling out separately: if your TV supports CEC (most do), the Pi can switch the TV on and into standby on a schedule you set in the dashboard, with no smart plug or separate remote-control gadget. Combined with the watchdog and the 03:00 auto-update, the practical difference is that once it's running, you mostly forget it's there.
When TVpilot is, and isn't, the right fit
TVpilot is hosted software, not something you self-host. If you want full control over the server, your own database, and no monthly dependency on anyone else's dashboard, the self-hosted digital signage checklist and the open-source signage cost breakdown lay out what that route actually costs in time.
It's also worth being upfront that the Pi player needs an internet connection to receive content updates; it recovers automatically once connectivity comes back, and calendar schedules keep running locally during an outage, but genuinely offline-first setups have different constraints, covered in the offline playback guide.
Where TVpilot fits well: you have one screen or a handful of them, you want to update content from a phone or laptop without SSH-ing into anything, and you'd rather spend fifteen minutes on setup than an afternoon debugging why Chromium won't restart after a power blip. The Free plan covers exactly that one-screen case with no catch; Starter and Pro add more screens and storage if the sign turns into several signs.
Running the sign is the easy part once it's set up. The work that actually shows up on screen, playlists, schedules, and what you put in front of customers, is where it's worth spending your time instead.
If you've got the Pi booted and the HDMI cable plugged in, the rest takes less time than reading a full buyer's guide. Sign up, grab your claim code, and get the install command running.
Frequently asked questions
Do I need a Raspberry Pi 4 or 5 specifically for digital signage?
Pi 4 or Pi 5 is recommended if you're playing video, since older models can stutter on video-heavy playlists. Static images and simple web pages will run fine on older Pi models, including a Pi 3, though boot and update times tend to be slower.
Does the Raspberry Pi need to stay connected to the internet after setup?
Yes, for content updates. The player needs an internet connection to pull new playlists, schedule changes and media. If the connection drops, the player keeps showing whatever was last loaded and follows its calendar schedule locally, then recovers automatically once the connection returns.
Can I use HDMI-CEC to turn the TV on and off automatically?
If your TV supports HDMI-CEC, which most modern TVs do, the Pi player can switch it on and into standby on a schedule you set in the TVpilot dashboard. It checks the schedule every minute and sends the CEC command itself, so you don't need a smart plug or extra hardware.
What happens if I'd rather set up Chromium kiosk mode manually instead of using the installer?
That's a valid route if you want full manual control, and the Raspberry Pi kiosk mode guide and Chromium kiosk mode guide on the TVpilot blog walk through exactly how to do it by hand. The installer just handles autostart, crash recovery, updates and remote reboot for you automatically instead of you scripting each piece yourself.