DIY Digital Signage Raspberry Pi: Build Your Own Screen
A DIY digital signage Raspberry Pi setup gets you your own screen in an afternoon, without an installer or a service contract. A Pi, a TV you already own, and about forty minutes of setup get you there. The real build order is: buy the parts, flash the OS, create a free account, paste one command, and start building a playlist.
We cover the full walkthrough on our Raspberry Pi signage page, including which Pi model to pick and how the player behaves once it's running. This article is the step-by-step version, aimed at an owner doing it themselves rather than hiring anyone.
What You Need for a DIY Digital Signage Raspberry Pi Build
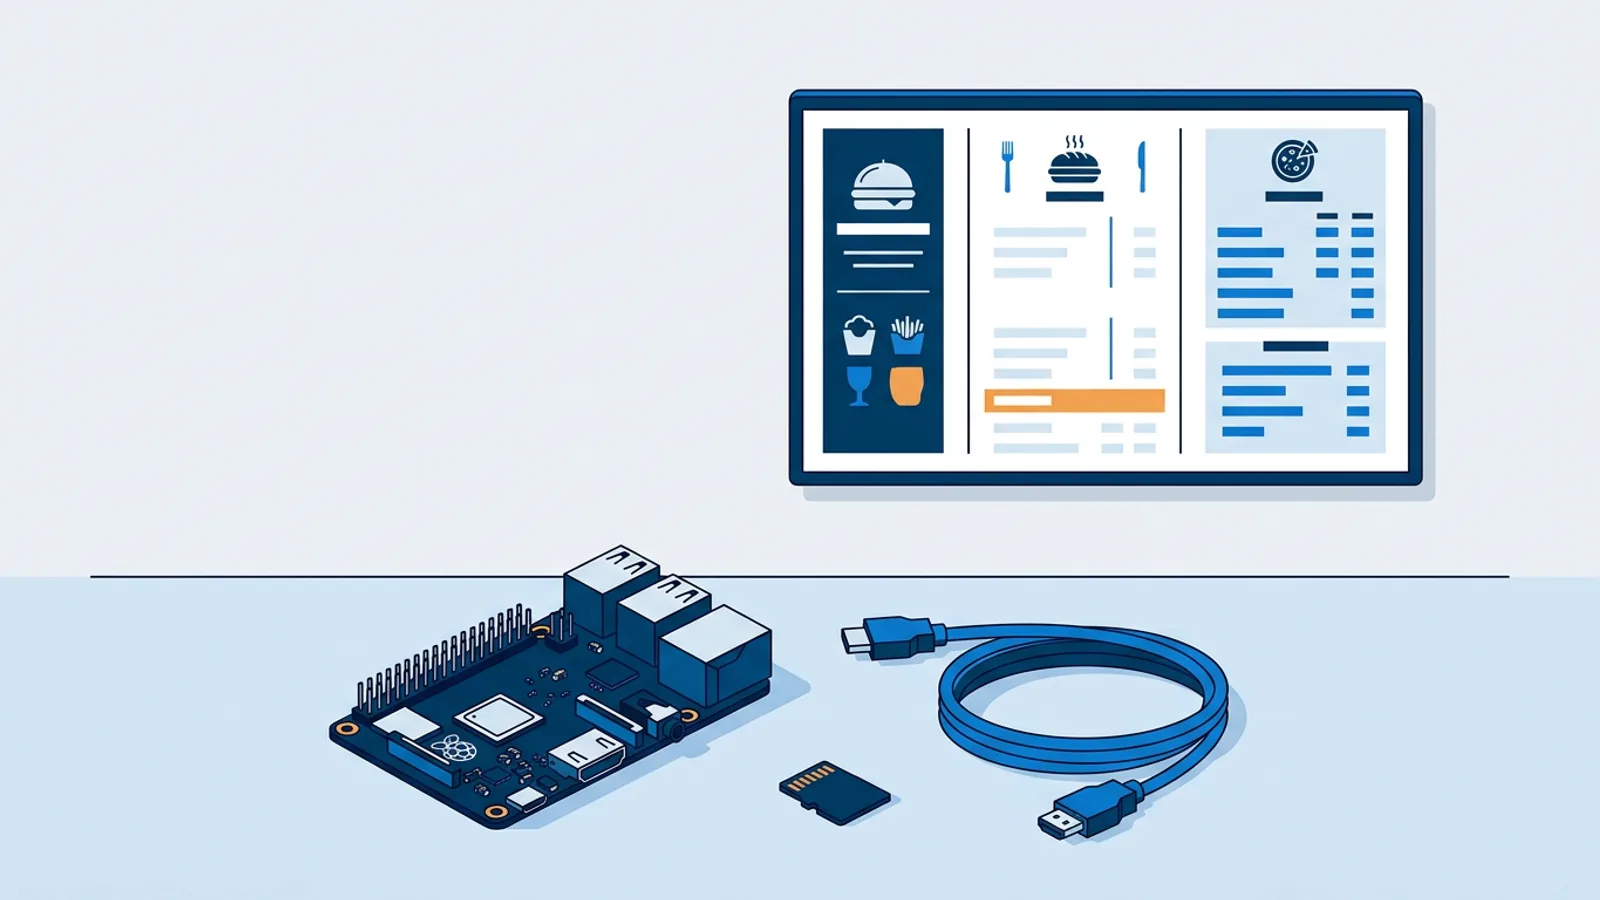
The parts list is short and none of it is exotic:
- A Raspberry Pi 4 or 5 (either works; the 5 is noticeably snappier with video-heavy playlists)
- The matching official power supply
- A microSD card, 16GB or larger, plus a way to flash it from your laptop
- An HDMI cable that fits your TV's port (the Pi 4 and 5 use micro-HDMI)
- A TV. Any TV. The one already hanging in your dining room or behind the bar is fine
That's the full shopping list. You need a general-purpose computer and a screen you already own, not a dedicated signage box, and you'll only need a mount or stand if your TV isn't already up somewhere.
Step 1: Buy the Pi and Hang the TV You Already Own
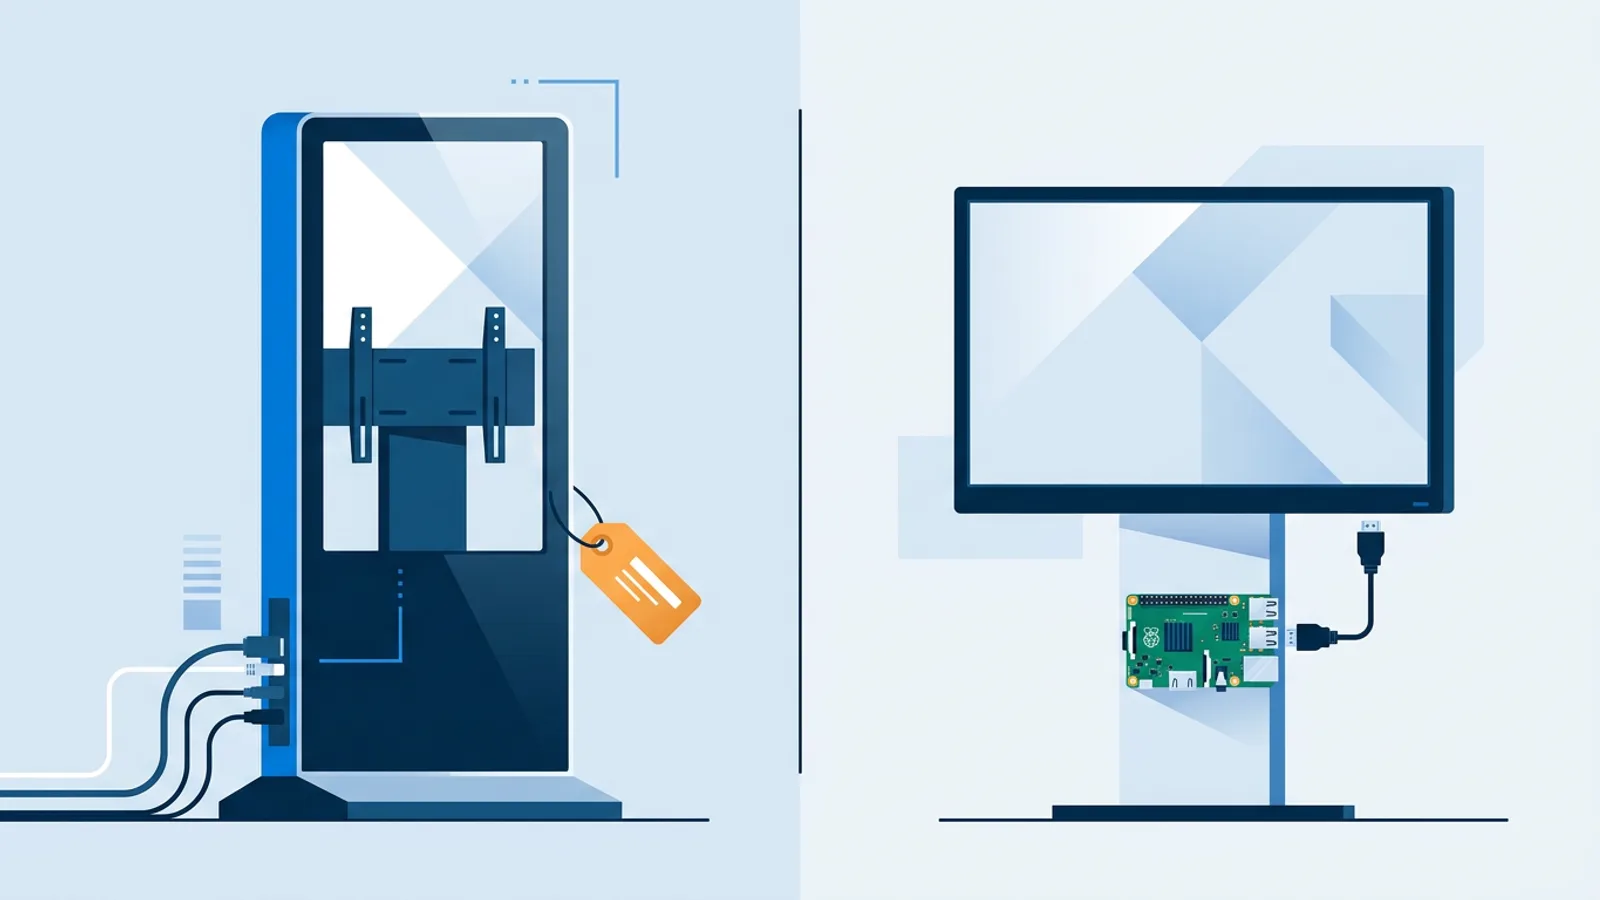
Buy the Pi from a normal electronics retailer, not a signage vendor: it's a general-purpose computer and any Pi 4 or 5 kit works. If your TV is already mounted, you're done with the physical setup. If not, this is the moment to put it up, because everything downstream just needs power and an HDMI port within reach.
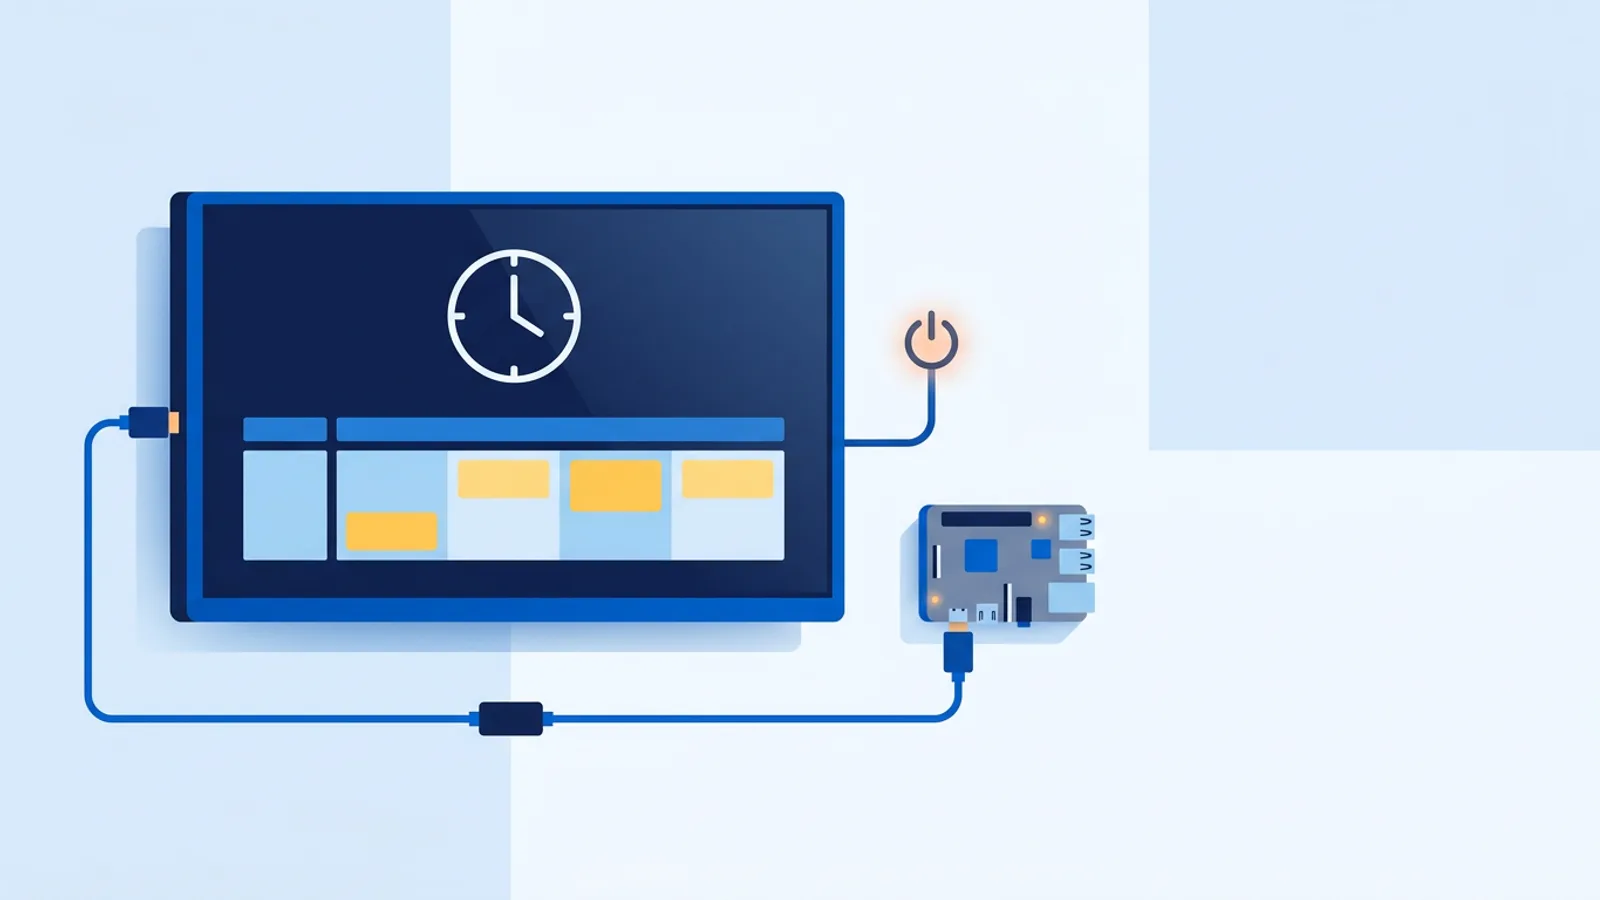
One thing worth deciding now: does the screen need to turn on and off automatically, or will someone flip it on each morning? If you want automatic scheduling, most modern TVs support HDMI-CEC, and the Pi can switch the TV on and off over that same cable, no smart plug required. More on that later.
Step 2: Flash Raspberry Pi OS with Desktop
Download Raspberry Pi Imager and flash the standard "Raspberry Pi OS (64-bit)" image, the one with the desktop, not the Lite version. The desktop build includes the window manager and Chromium that the signage player needs to run full-screen. In the Imager's advanced options (the gear icon), set your Wi-Fi credentials and enable SSH if you'd rather finish setup from your laptop than plug in a keyboard.
Boot the Pi with the SD card inserted, let it finish its first-run setup, and confirm it can reach the internet. That's the only OS-level work required. You are not installing a signage app, a browser extension, or anything else by hand at this stage.
Step 3: Create a Free TVpilot Account and Get Your Claim Code
On any computer, sign up for a free TVpilot account. No credit card is asked for, because the Free plan is free forever within its limits: one screen, 250MB of storage, and AI Studio included for building screen designs from a text brief. Add a new player from the dashboard and it generates a six-character claim code along with a single install command.
Step 4: Run the One-Command Installer
Open a terminal on the Pi (directly, or over SSH) and paste the command the dashboard gave you. It looks like this:
curl -fsSL https://tvpilot.app/install.sh | bash
That one line does the work that used to require manual configuration: it installs Chromium in kiosk mode, sets it to auto-start on the desktop session, registers a systemd service so the player restarts if it crashes, and installs a watchdog that checks the player is alive and restarts it within about 10 seconds if it isn't. It also hides the mouse cursor and skips the usual boot splash screens, so what's left on screen is your content, not a desktop background or a taskbar.
If you want the mechanics behind Chromium kiosk mode explained on their own, that's covered in our kiosk mode guide and in more Pi-specific depth in the Raspberry Pi kiosk mode guide.
Step 5: Pair the Player and Build Your Playlist
Back in the dashboard, enter the claim code (or confirm it auto-paired, depending on timing) and the Pi shows up as an online player. From here it's a normal signage workflow: build a playlist of images, videos, web pages or PDFs, drag them into order, set transitions, and assign a schedule by day and time slot. Orientation is a dropdown, landscape or portrait, so a narrow lobby screen is just as easy to set up as a wide one over a bar.
If you'd rather not design a menu board from scratch, AI Studio generates one from a short brief, no design software needed. We've written a separate walkthrough on writing good prompts for it in Create a Promotional Display With AI.
The Honest Cost of Raspberry Pi Digital Signage
The Pi is a one-off hardware purchase, roughly the price of a nice dinner for two depending on where you buy it. After that, the software cost depends on how many screens you're running and how much you're storing.
| Free | Starter | |
|---|---|---|
| Price | \u20ac0 forever | \u20ac5/month |
| Screens | 1 | up to 5 |
| Storage | 250MB | 1GB |
| AI Studio | included | included |
One screen with a modest playlist of images and short video clips fits comfortably inside 250MB. What actually pushes people onto Starter is either a second screen (a kitchen display plus a dining-room menu board, say) or a playlist heavy on video that eats through storage. Screen count and storage are what trigger the upgrade.
For a wider view of what "free" gets you across the category, see Free Digital Signage: What You Actually Get.
Where This Shines: Hospitality
A Pi-plus-TV setup earns its keep fastest in small hospitality spots, because the content changes on a schedule that matches how the business actually runs:
- A cafe rotates a daily-special image in the morning and swaps to an afternoon drinks board without anyone touching the screen
- A restaurant runs a lunch menu from open until 3pm, then a dinner menu automatically takes over, using dayparting rules set once in the schedule
- A salon displays a price list and current promotions on a screen by the waiting chairs
- A gym posts the day's class schedule, updated from a spreadsheet-style edit in the dashboard rather than a reprinted poster
If you're specifically building a menu board, common design mistakes worth avoiding are covered in our menu board mistakes guide, and the full walkthrough is in How to Make a Digital Menu Board.
Is a Raspberry Pi Digital Signage Setup Right for You?
This setup fits well if you want to own the hardware outright, you're comfortable flashing an SD card and running one terminal command, and you're running one or a handful of screens where a spare TV or a cheap new one is already part of the plan. It also fits fine if content updates happen a few times a week rather than by the second, since the Pi checks in with the dashboard on its own schedule and needs an internet connection to pick up changes. If the connection drops, the player keeps showing its last playlist and recovers automatically once it's back online; that behavior is covered in more depth in Digital Signage Offline Playback.
It fits less well if you need a system with no internet dependency at all, or if you were hoping to self-host the whole platform on your own server. TVpilot is hosted software you log into, not an open-source project you install and run yourself. If that self-hosting route is what you actually want, the tradeoffs (server maintenance, updates, security patching) are laid out honestly in Open Source Digital Signage: The Real Cost of Self-Hosting.
Getting Started
Buy the Pi, hang the TV, flash the OS, and the rest is a claim code and one command. Sign up for free, grab your install command from the dashboard, and have your first screen playing content before the coffee machine finishes its next round.
Frequently asked questions
Do I need a Raspberry Pi 5, or will a Pi 4 work fine for digital signage?
A Pi 4 works fine for typical signage playlists of images, PDFs and short video clips. The Pi 5 is noticeably faster with heavier video playback or multiple large images loading in quick succession, but for a menu board or schedule screen, either model handles it comfortably.
Can I run a DIY digital signage Raspberry Pi setup without an internet connection?
The Pi needs an internet connection to receive playlist and schedule updates from the dashboard. If the connection drops, the player keeps showing whatever was last loaded and picks up new content automatically once it reconnects, so a brief outage doesn't blank the screen.
How much does a Raspberry Pi digital signage setup cost after buying the hardware?
The Pi, power supply, SD card and HDMI cable are a one-off purchase. Software is free forever on the Free plan for one screen with 250MB of storage and no credit card required. A second screen or more storage moves you to Starter at 5 euro a month for up to five screens and 1GB of storage.
Can I turn the TV on and off automatically with a Raspberry Pi signage setup?
Yes, if your TV supports HDMI-CEC, which most modern TVs do. The Pi checks a power schedule you set in the dashboard once a minute and switches the TV on or to standby over the same HDMI cable, so no separate smart plug is needed.